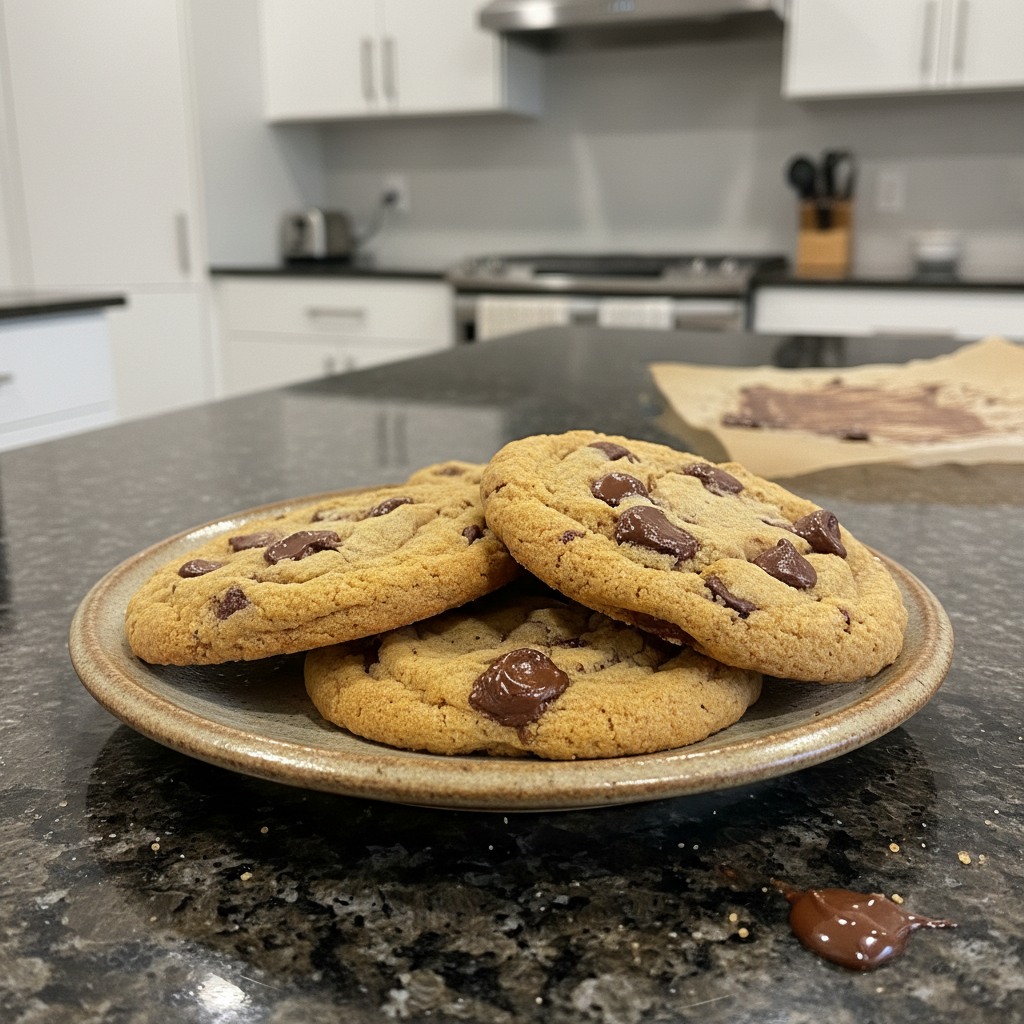
As the days grow longer and flowers begin to bloom, my kitchen fills with the irresistible urge to bake something light, refreshing, and utterly delightful. There is nothing quite like a simple poke cake to bring joy to any spring gathering. This Coconut Pudding Cake is a delightful spring dessert, easy to make and bursting with coconut flavor. I am so excited to share my favorite version of this classic with you, featuring a unique twist that guarantees a super moist and intensely flavorful coconut dessert cake every time.
Why You’ll Love This Recipe
The Secret Ingredient: Cream of Coconut Drizzle. After poking holes in the baked cake, I love to drizzle a bit of cream of coconut over it. This step truly elevates the coconut flavor and ensures an incredibly moist cake.
This simple addition provides a richer, more intense coconut flavor that complements the instant coconut cream pudding perfectly. The higher fat content of the cream of coconut contributes to an unbelievably moist texture, making this dessert cake stand out.
This coconut cream poke cake is incredibly easy to make, perfect for beginner bakers, and always a crowd-pleaser. It is a fantastic party dessert and a great make-ahead dessert, freeing you up to enjoy your Easter or holiday celebration. It truly takes a classic poke cake to the next level.
Ingredients Needed
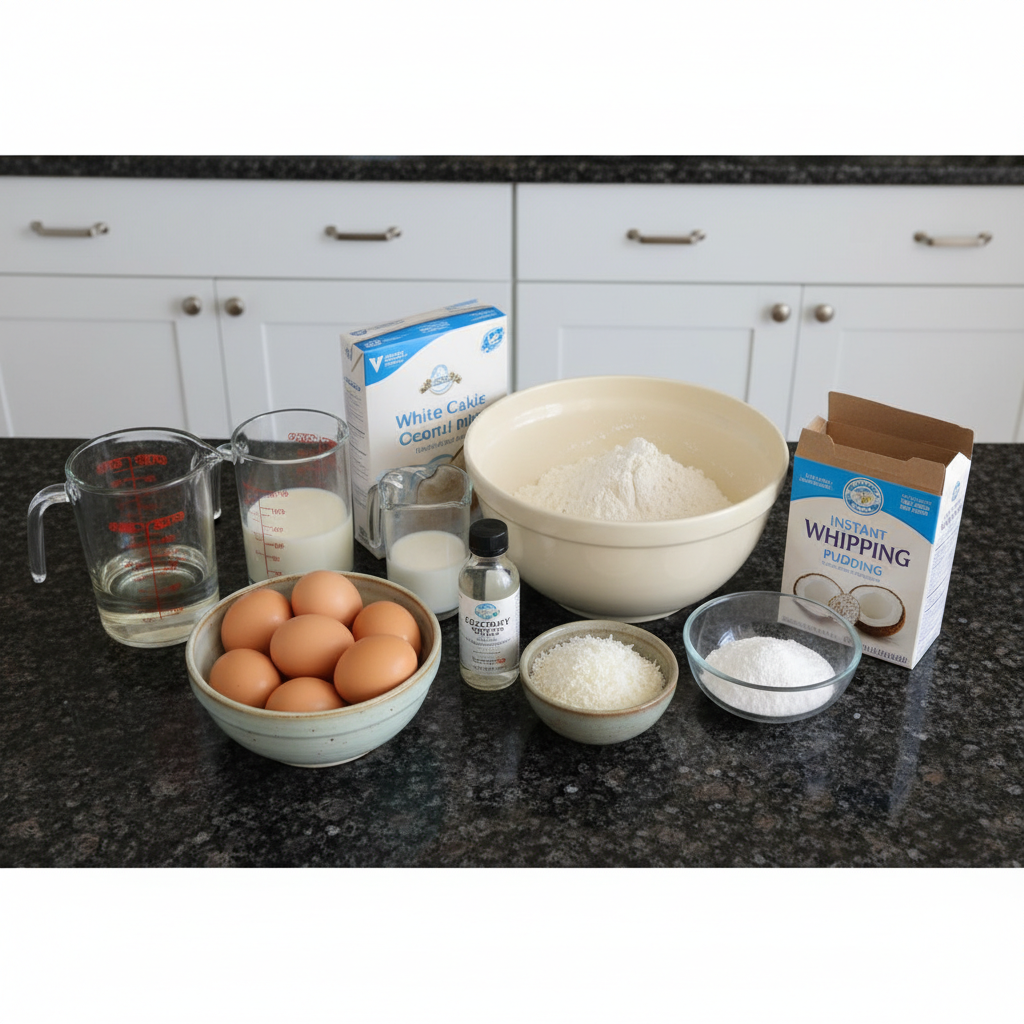
- 1 box white cake mix
- Water (vegetable oil and eggs per package instructions)
- 3 teaspoons coconut extract
- 1/2 cup sweetened coconut flakes
- 2 3.4 ounce boxes instant coconut cream pudding
- 3 cups milk
- Topping:
- 2 cups heavy whipping cream
- 1/2 cup powdered sugar
- 1/3 cup sweetened coconut flakes
Ingredient Notes & Substitutions
Cake Mix Options: I often use a classic white cake mix for this recipe. A butter recipe white cake mix can also add a richer flavor, or even a yellow cake mix for a slightly different base. All work wonderfully to create a moist spring dessert.
Coconut Extract: Using a high-quality coconut extract is key for that authentic, vibrant coconut flavor. If you can find a natural coconut extract, I highly recommend it for the best results in your coconut pudding cake.
Milk: For the instant coconut cream pudding, whole milk creates the creamiest, most decadent filling. You can also use 2% milk if you prefer. For an even more intense coconut flavor, try substituting some or all of the milk with coconut milk.
Dairy-Free Option: To make this a dairy-free dessert, choose a dairy-free white cake mix. Substitute the milk for the pudding with full-fat canned coconut milk, and use a store-bought dairy-free whipped topping or a homemade coconut cream whipped topping made from chilled coconut milk.
Gluten-Free Option: This recipe is easily adaptable for gluten sensitivities. Simply use a gluten-free white cake mix, and double-check that all other ingredients, like the instant coconut cream pudding and coconut extract, are certified gluten-free.
How to Make Coconut Pudding Poke Cake
Preparing the Cake Base
Step 1: Preheat your oven to 350 degrees F (175 degrees C). Take a 9×13 inch baking pan and grease it thoroughly. This step is important to prevent the cake from sticking.
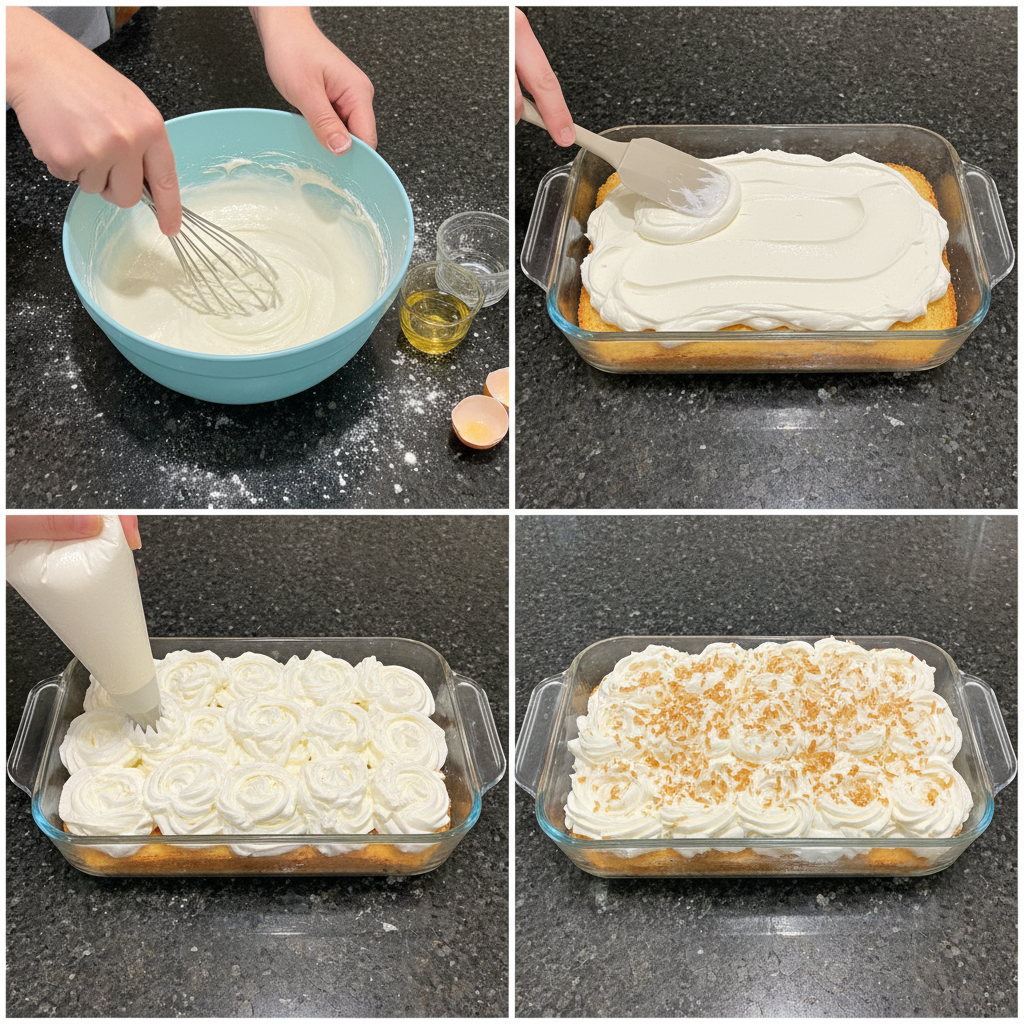
Step 2: In a large mixing bowl, combine the white cake mix, water, vegetable oil, eggs, and coconut extract. Mix these ingredients until they are just combined, being careful not to overmix the batter. Overmixing can lead to a dry cake.
Step 3: Gently fold in the 1/2 cup of sweetened coconut flakes. Make sure the flakes are evenly distributed throughout the batter. This adds a lovely texture and more coconut flavor.
Step 4: Pour the prepared batter into your greased baking pan. Spread the batter evenly across the bottom of the pan, ensuring it reaches all corners for consistent baking.
Step 5: Bake the cake in the preheated oven for 20-25 minutes. You will know it is done when a cake tester inserted into the center comes out clean. The cake should look golden brown and feel springy to the touch.
Poking and Cooling the Cake
Step 6: Let the baked cake cool for about 15 minutes in the pan. While it is still warm, take the back of a wooden spoon or a similar object and poke holes all over the cake. Aim for holes spaced about 1/2 inch apart across the entire surface. These holes are crucial for absorbing the delicious pudding.
Step 7: The Unique Twist: Now, take 1/4 cup of cream of coconut and drizzle it evenly over the warm, poked cake. Allow this rich liquid to seep into all the holes. This is my secret for an extra burst of concentrated coconut flavor and incredible moistness.
Step 8: Allow the cake to cool completely before moving to the next step. This is important because a warm cake will melt the pudding, resulting in a runny filling.
Adding the Pudding Filling
Step 9: In a large bowl, whisk together the instant coconut cream pudding mixes and the milk until smooth and combined. Immediately pour this pudding mixture all over the cooled cake. Spread it evenly, ensuring that the pudding seeps generously into all the holes you made earlier. This creates that delicious, creamy filling throughout the coconut pudding cake.
Step 10: Refrigerate the cake for at least 2 hours, or until the pudding is fully set. This allows the pudding to firm up and the flavors to meld beautifully, making it an excellent make ahead dessert.
Making the Whipped Topping
Step 11: In a large bowl, combine the heavy whipping cream and powdered sugar. Using an electric mixer, beat the cream and sugar together on high speed until stiff peaks form. Be careful not to overwhip, as it can turn grainy quickly.
Step 12: Gently spread this freshly whipped topping evenly over the entire cake. This adds a light, airy, and creamy finish to your coconut cream poke cake.
Step 13: Sprinkle the remaining 1/3 cup of sweetened coconut flakes over the whipped topping. This adds a final touch of coconut flavor and visual appeal, especially when serving this spring dessert.
Step 14: Keep the coconut pudding cake refrigerated until you are ready to serve it. This ensures the cake stays fresh and the topping remains perfectly stable.
Cake Mix Customization
Enhancing a basic white cake mix is an easy way to elevate your coconut pudding cake. For a stronger coconut flavor, I often add an extra teaspoon of coconut extract directly to the cake batter. This intensifies the tropical notes without making it overwhelming.
Instead of just using vegetable oil as directed on the box, try substituting it with an equal amount of melted butter. This simple swap will give your cake a richer, more buttery taste and a wonderfully tender crumb. For added moisture and flavor, I sometimes replace the water in the cake mix instructions with milk or even coconut milk. Using coconut milk here will further boost the overall coconut flavor profile of your spring dessert.
For best results when doctoring a cake mix, make sure all your wet ingredients, like eggs and milk, are at room temperature. This helps them incorporate more smoothly into the batter, leading to a more consistent texture. You can also sift the dry cake mix before combining it with wet ingredients to prevent lumps and ensure an airy cake.
Preventing Weepy Whipped Cream
Nothing is more disappointing than a beautiful coconut pudding cake topped with weepy whipped cream. To ensure your heavy cream topping stays light and fluffy, start with very cold heavy cream and a chilled mixing bowl. I like to place my bowl and whisk attachment in the freezer for about 15 minutes before I begin.
For extra stability, especially if you are making this as a make ahead dessert or for a party, consider adding a stabilizer. You can dissolve 1 teaspoon of unflavored gelatin in 2 tablespoons of cold water, then warm it gently until clear (do not boil). Let it cool slightly, then slowly drizzle it into the heavy cream as you whip it to soft peaks. Alternatively, you can whisk 1 tablespoon of cornstarch or powdered sugar (which already contains cornstarch) into the heavy cream before whipping.
Be careful not to over-whip the cream; stop beating as soon as stiff peaks form. Over-whipping can lead to a grainy or curdled texture. Proper storage is also essential. Store your coconut cream poke cake in the refrigerator, loosely covered. To minimize condensation and weeping, you can place plastic wrap lightly on top of the whipped cream, but ensure it does not press down firmly.
Pro Tips & Troubleshooting
Pro Tips
Toast the coconut flakes for extra flavor and crunch before sprinkling them on top. Simply spread them in a dry skillet over medium heat and stir constantly until they turn golden brown. Keep a close eye on them as they can burn quickly.
For easy cake removal, use a baking spray with flour or Wilton Cake Release when preparing your 9×13 inch baking pan. This ensures your beautiful spring dessert comes out cleanly every time.
For a cleaner cut, always chill the coconut pudding cake thoroughly before slicing. A cold cake with set pudding and firm whipped cream slices much more neatly.
Add a layer of toasted coconut flakes under the whipped cream for an additional layer of texture and intensified coconut flavor. This creates a delightful surprise in every bite.
Use a skewer or a thin chopstick for poking holes in the cake. This allows for more precise and evenly spaced holes, ensuring the instant coconut cream pudding distributes perfectly throughout the entire cake.
For an even deeper coconut flavor, brush the baked cake with a little extra coconut milk just before poking the holes. This adds another layer of moisture and richness to your dessert.
Common Mistakes to Avoid
Overbaking the cake is a common pitfall that can lead to a dry cake. Always use a cake tester or toothpick to check for doneness. The cake should be moist but fully cooked through.
Using warm pudding will cause it to melt and seep unevenly, creating a soggy cake. Make sure the cake is fully cooled before you add the instant coconut cream pudding.
Overwhipping the heavy cream can quickly turn it from light and fluffy to grainy. Watch your electric mixer carefully and stop beating as soon as stiff peaks form to maintain that perfect texture.
Not refrigerating the coconut pudding cake long enough means the pudding will not set properly, leading to a runny filling. Allow sufficient time, at least 2 hours, for the pudding to set completely.
Forgetting the cream of coconut drizzle is a big missed opportunity. This unique twist is a game changer for flavor and moistness, making this a truly unforgettable spring dessert.
Serving & Storage
Serving Ideas
This coconut pudding cake is best served chilled, which makes it incredibly refreshing, especially for a spring dessert. For an added touch of color and a burst of fresh flavor, garnish individual slices with fresh berries such as strawberries, raspberries, or blueberries.
A light dusting of powdered sugar over the top can give the cake an elegant finish. For the ultimate coconut experience, serve a slice of this cake alongside a scoop of coconut ice cream or a tropical sorbet.
Storage and Make-Ahead
Storage: Store any leftover coconut pudding cake in the refrigerator. Make sure it is covered with plastic wrap or in an airtight container to maintain its freshness. It will keep well for up to 3-4 days.
Make-Ahead: This coconut cream poke cake is a fantastic make ahead dessert. You can assemble the entire cake, including the pudding, a day in advance and refrigerate it overnight. I recommend adding the whipped cream topping just a few hours before serving to ensure it stays light and fresh, preventing it from weeping.
Freezing: While not ideal due to the texture changes in both the instant coconut cream pudding and the heavy whipping cream, you can freeze this cake. Wrap it tightly first in plastic wrap, then in aluminum foil. Thaw it slowly in the refrigerator overnight before serving. Be aware that the texture of the topping may change slightly after freezing and thawing.
Conclusion
This Coconut Pudding Cake is a truly delightful and easy-to-make dessert, perfect for any occasion but especially for spring celebrations like Easter. My unique cream of coconut drizzle ensures an intensely flavored and incredibly moist cake that will impress everyone.
Even beginner bakers can achieve success with this simple recipe. Do not be afraid to experiment with different toppings or flavors to create your own unique twist. Try a sprinkle of toasted coconut or some fresh tropical fruit for an extra flourish. I encourage you to print this recipe and share this wonderful spring dessert with your friends and family!
FAQ
What is the best way to poke holes in the cake to ensure even pudding distribution?
Use the back of a wooden spoon or a chopstick, spacing the holes about 1/2 inch apart. Make sure to poke them evenly across the entire surface of the cake to allow the pudding to seep in thoroughly.
How can I prevent the whipped cream topping from becoming watery?
For the best results, use very cold heavy cream and a chilled bowl. Avoid over-whipping the cream. You can also consider using a stabilizer like a small amount of gelatin or cornstarch for added firmness.
What are some variations I can try to customize the flavor of this cake?
You can experiment with different extracts like almond or vanilla in the cake batter. Adding other fruits like pineapple or mandarin oranges can give it a tropical twist. For topping, consider toasted coconut flakes, mini chocolate chips, or different types of nuts.
How long can the coconut cream poke cake be stored, and what’s the best way to keep it fresh?
Store the cake in the refrigerator, covered, for up to 3-4 days. Keeping it in an airtight container helps maintain its freshness and prevents it from drying out.
Can this cake be made gluten-free or dairy-free? What substitutions can be used?
Yes, absolutely. For a gluten-free version, use a gluten-free cake mix. For a dairy-free option, use coconut milk for the pudding and a dairy-free whipped topping alternative, ensuring all other ingredients are also dairy-free.
What kind of cake mix works best for this recipe?
A white cake mix works best for a classic flavor profile. You can also use a yellow cake mix for a slightly richer base. A butter cake mix can also be used to impart an even richer taste to your spring dessert.
Can I freeze this cake?
While it is not generally recommended to freeze this cake due to potential changes in the texture of the whipped cream and pudding, you can do so if necessary. Wrap it tightly in plastic wrap and then in foil, and thaw it in the refrigerator. Be aware that the texture may be slightly altered.
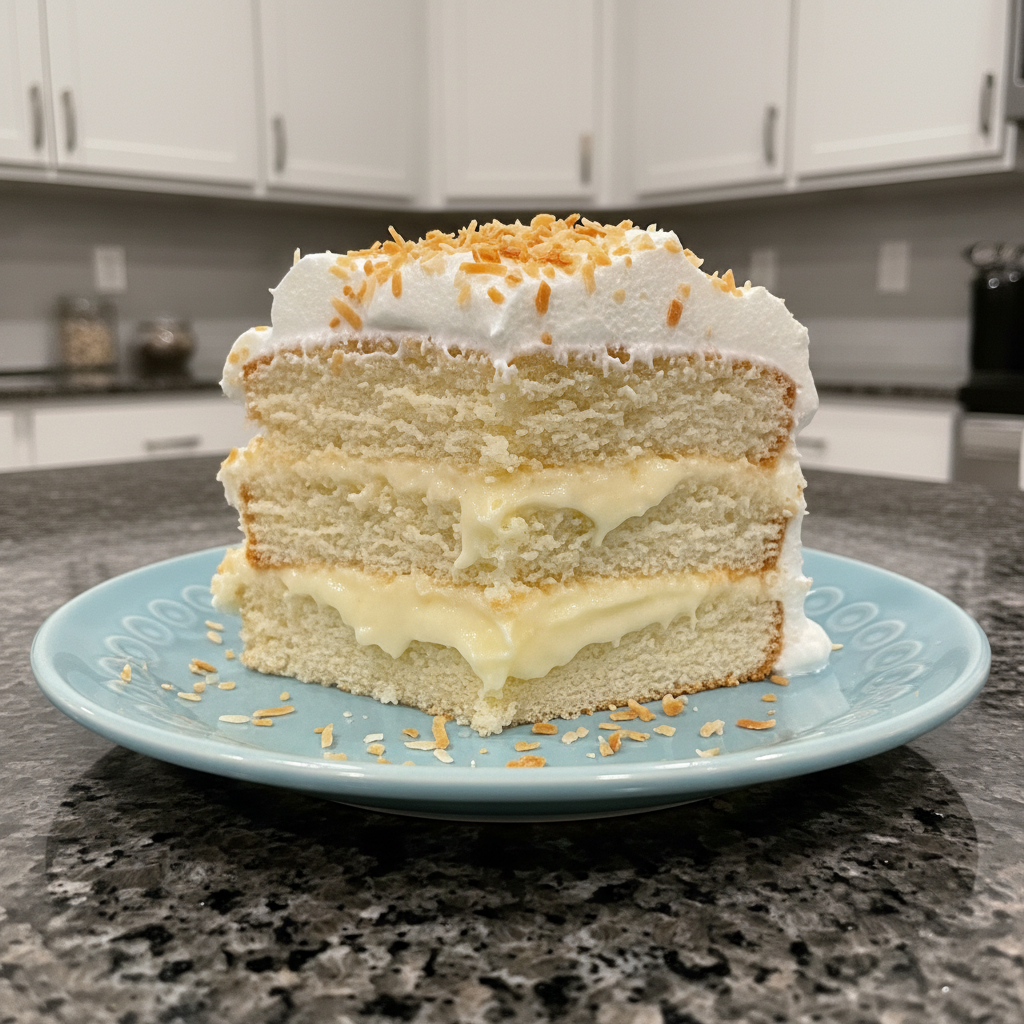
Coconut Pudding Poke Cake
Ingredients
Equipment
Method
- Preheat your oven to 350 degrees F (175 degrees C). Take a 9x13 inch baking pan and grease it thoroughly to prevent the cake from sticking.
- In a large mixing bowl, combine the white cake mix, water, vegetable oil, eggs, and coconut extract. Mix these ingredients until they are just combined, being careful not to overmix the batter.
- Gently fold in the 1/2 cup of sweetened coconut flakes, ensuring they are evenly distributed throughout the batter.
- Pour the prepared batter into your greased baking pan and spread it evenly across the bottom.
- Bake the cake in the preheated oven for 20-25 minutes, or until a cake tester inserted into the center comes out clean.
- Let the baked cake cool for about 15 minutes in the pan. While still warm, use the back of a wooden spoon or a similar object to poke holes about 1/2 inch apart across the entire surface.
- Drizzle 1/4 cup of cream of coconut evenly over the warm, poked cake, allowing it to seep into all the holes for an extra burst of coconut flavor and moistness.
- Allow the cake to cool completely before proceeding to the next step.
- In a large bowl, whisk together the instant coconut cream pudding mixes and the milk until smooth. Immediately pour this pudding mixture all over the cooled cake, spreading it evenly to seep into the holes.
- Refrigerate the cake for at least 2 hours, or until the pudding is fully set.
- In a large bowl, combine the heavy whipping cream and powdered sugar. Using an electric mixer, beat on high speed until stiff peaks form, being careful not to overwhip.
- Gently spread this freshly whipped topping evenly over the entire cake.
- Sprinkle the remaining 1/3 cup of sweetened coconut flakes over the whipped topping.
- Keep the coconut pudding cake refrigerated until ready to serve.
Notes

Sophie Reynolds is a baking specialist and dessert contributor at YumEasyMeals. She develops approachable, family-friendly dessert recipes focused on flavor, simplicity, and reliable results for everyday home cooks.