There are few joys in life quite like a scoop of perfectly creamy ice cream. Yet, for us dairy-free folks, the dream of truly smooth vegan ice cream often turns into an icy, crystal-laden reality. I know the struggle well in my kitchen. But today, I am thrilled to share my secret to achieving the most decadent, ultra-creamy vegan ice cream at home, completely dairy-free and surprisingly easy. Get ready for a texture revelation that will change your dessert game forever.
Why You’ll Love This Recipe
This recipe includes a tiny, magical ingredient that makes all the difference. I add just about 1/8 teaspoon of xanthan gum to the mixture. This seemingly small addition creates a world of difference in the final texture of your vegan ice cream.
Xanthan gum is an amazing stabilizer and emulsifier. It prevents those dreaded ice crystals from forming, ensuring your vegan ice cream comes out incredibly smooth and professional-tasting every single time. It binds water and fat, creating an amazing consistency.
The resulting vegan ice cream is rich, wonderfully creamy, wonderfully smooth, and truly decadent. It is an absolute treat for your taste buds.
This recipe is truly easy to make right in your own kitchen. It is completely dairy-free and vegan-friendly, perfect for everyone to enjoy. You can also easily customize this base recipe with your favorite flavors.
Ingredients Needed
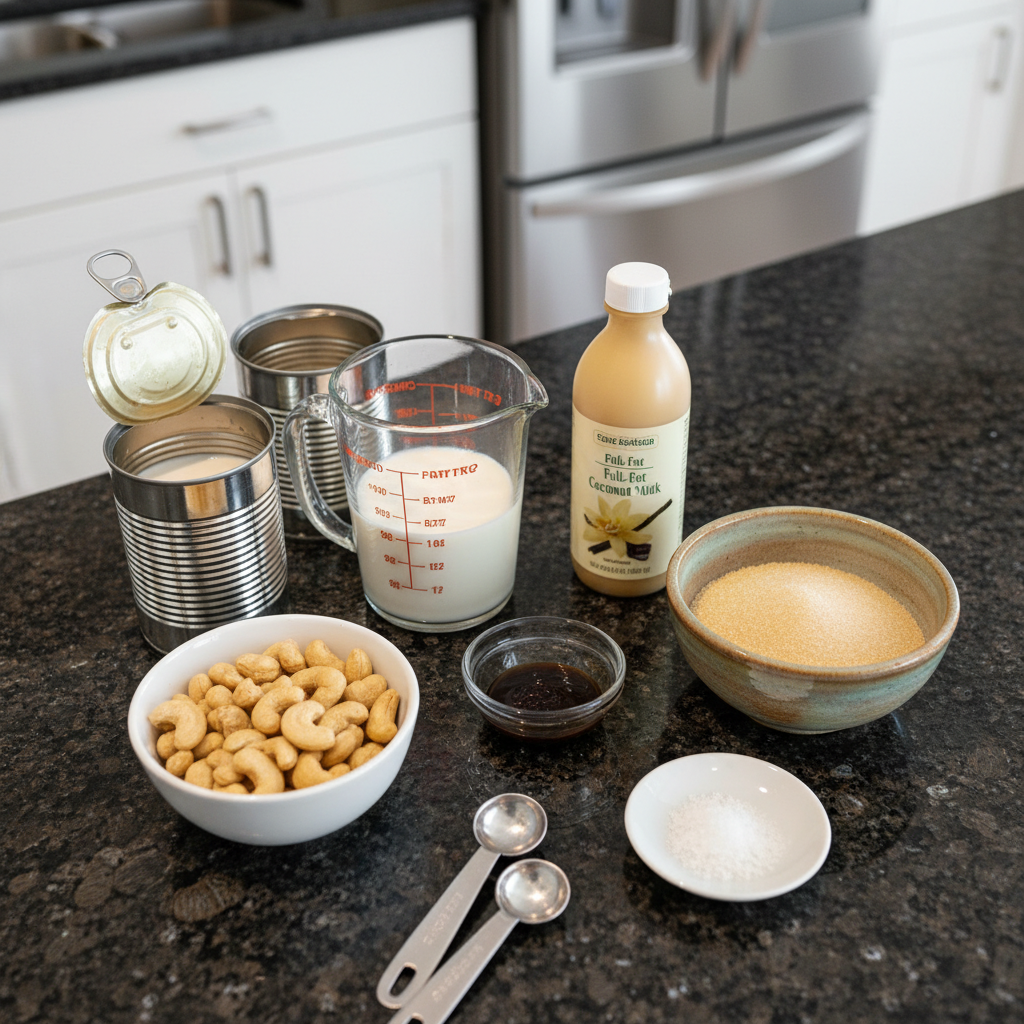
1 cup raw cashews (soaked in water overnight or boiled for 5 minutes*, drained)
2 (13.4 ounce) cans full fat coconut milk
1 tablespoon vanilla bean paste (or extract or 1 vanilla bean)
⅔ cup cane sugar (or other organic granulated sugar)
½ teaspoon sea salt
Ingredient Notes & Substitutions
Cashews: Soaking your raw cashews is absolutely crucial for this vegan ice cream. It helps to soften them significantly, allowing them to blend into a perfectly smooth, creamy base without any grittiness. You can either soak them overnight in cold water or use the quick method of boiling them for 5 minutes, then draining them well. Both methods work wonderfully to ensure that smooth texture.
Coconut Milk: For the absolute creamiest vegan ice cream, I cannot stress enough the importance of using full-fat coconut milk. The high fat content is what gives this ice cream its rich, decadent mouthfeel. If you use a reduced-fat version, your ice cream will be less creamy and may develop more ice crystals.
Vanilla: I personally recommend using vanilla bean paste for the most intense and authentic vanilla flavor. However, vanilla extract is a perfectly good substitute. If you are feeling extra fancy, scraping the seeds from one whole vanilla bean will provide an incredible aroma and flavor.
Sugar: Cane sugar works beautifully here, but you can certainly use other organic granulated sugars. If you prefer liquid sweeteners like maple syrup or agave, be aware that they can slightly alter the texture of the vegan ice cream, sometimes making it a bit softer.
Salt: A touch of sea salt is not just for savory dishes. In desserts, salt is a flavor enhancer. It brightens the sweetness and balances the overall taste profile, making the vanilla and coconut flavors pop.

How to Make Vegan Ice Cream
Prepare Your Equipment
Before you start, make sure your ice cream maker freezer drum is completely frozen. I always recommend freezing it for at least 7 hours, but 24 hours is truly ideal for the best results. I keep mine in the freezer permanently so it is always ready to go. Properly frozen equipment is key to preventing ice crystals.
Soak the Cashews
Ensure your cashews are completely soaked beforehand. This step is vital for achieving a silky smooth vegan ice cream. Properly soaked cashews will be noticeably plump and soft, ready to blend without any grainy texture.
Blend the Base
In a high speed blender, combine the soaked cashews, full fat coconut milk, vanilla bean paste, cane sugar, and the sea salt. Blend this mixture on high speed until it is completely smooth. This usually takes about 2 to 4 minutes, depending on your blender’s power. Take your time here. You want to ensure every single cashew bit is blended out, creating a wonderfully creamy, velvety liquid. If the mixture feels warm from blending, do not worry; the next step addresses this.
Chill the Mixture
Pour the blended mixture into a bowl or a container, or simply leave it in the blender pitcher, and cover it. It is important to chill this mixture thoroughly. Place it in the coldest spot of your refrigerator for at least 4 hours. You can even chill it for up to 2 days if you are not ready to make the ice cream immediately. Chilling allows the flavors to meld beautifully and further improves the texture for churning.
Churn the Ice Cream
Once the mixture is well chilled, remove it from the fridge. Set up your ice cream machine according to the manufacturer’s instructions. Place the ice cream maker freezer base into the machine and pour in the cold ice cream mixture. Churn for about 20 to 25 minutes. As it churns, you will see the mixture transform into a thick, smooth, soft-serve consistency. At this stage, I always taste test it to decide if I like the taste and sweetness. If you are curious about a no-churn alternative, you can explore methods similar to my chocolate avocado post for guidance.
Freeze to Set
Scoop the soft-serve vegan ice cream into a freezer-safe container. I often use a loaf pan. Smooth the top down gently to remove any air pockets, which can lead to ice crystals. This is an important step to ensure a super creamy final product. Press plastic wrap, a reusable wrap, or parchment or wax paper directly onto the surface of the ice cream, ensuring there is no exposure to air. Then, wrap the outside of the pan as well. Place it in the freezer for at least 4 hours to firm up. For the best texture, I sometimes leave it overnight.
Serve and Enjoy
After it has frozen for at least 4 hours, remove the container from the freezer. Allow it to sit on the counter for at least 5 minutes before scooping, just like you would with store-bought ice cream. This allows it to soften slightly, making it perfectly scoopable and even creamier. Scoop, serve, and enjoy your incredibly creamy vegan ice cream!
Soaking Cashews: The Secret to Creamy Texture
Soaking cashews is one of the most critical steps in achieving a truly creamy, smooth vegan ice cream. When raw cashews are dry, they are firm and challenging to break down completely, even in a high-speed blender. If you try to blend them without soaking, you will likely end up with tiny, gritty cashew bits throughout your ice cream, which is not the smooth texture we are aiming for.
The science behind it is simple: soaking allows the cashews to absorb water, which significantly softens them. This pre-softening enables your blender to pulverize them into an incredibly fine, velvety paste. This paste then forms the rich, creamy base of your vegan ice cream, mimicking the texture of dairy cream.
You have two excellent options for soaking. Overnight soaking in cold water is the most passive method; simply cover the cashews and let them sit for at least 8 hours, or up to 24. This gentle soak ensures they are fully hydrated. The quick-boil method is perfect when you are short on time. Just place the cashews in a pot, cover them with water, bring to a boil, and simmer for 5 minutes. Drain them thoroughly afterward. Both methods result in soft cashews ready for blending.
If you skip soaking or do not soak them long enough, your vegan ice cream will suffer. It will have an undesirable grainy texture, which detracts from the luxurious mouthfeel we desire. Proper cashew preparation is truly a game-changer for this dessert.
Pro Tips & Troubleshooting
Pro Tips
Freeze the ice cream maker drum for at least 24 hours before churning for optimal results.
Chill the ice cream mixture thoroughly before churning, aiming for at least 4 hours.
Use full-fat coconut milk for the richest, creamiest texture possible.
Add a pinch, about 1/8 teaspoon, of xanthan gum for a smoother, more stable vegan ice cream.
Do not over-churn the ice cream in the machine; stop when it reaches a soft-serve consistency.
Taste test the mixture at the soft-serve stage to adjust sweetness or flavor if desired.
Common Mistakes to Avoid
Forgetting to soak the cashews properly will result in a grainy texture.
Using light coconut milk instead of full-fat will lead to a less creamy and potentially icy ice cream.
Not chilling the mixture long enough before churning can prevent it from firming up properly.
Over-churning the ice cream can incorporate too much air, leading to a strange texture.
Not freezing the ice cream maker drum long enough will result in a soupy, rather than firm, churn.
Serving & Storage
Serving Ideas
This creamy vegan ice cream is delightful on its own, but here are some of my favorite ways to enjoy it:
Drizzle it generously with an easy vegan caramel sauce for an extra touch of sweetness.
Sprinkle some homemade pumpkin granola on top for a lovely crunch.
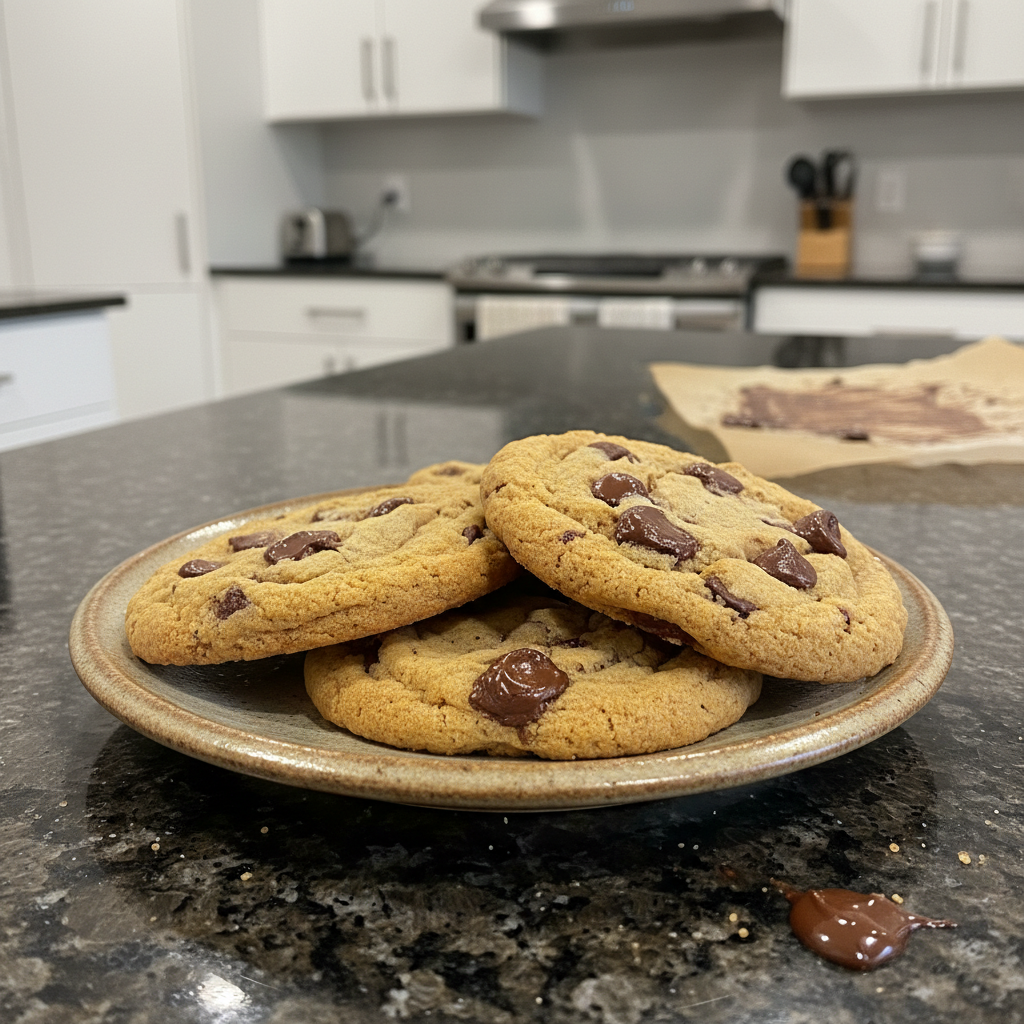
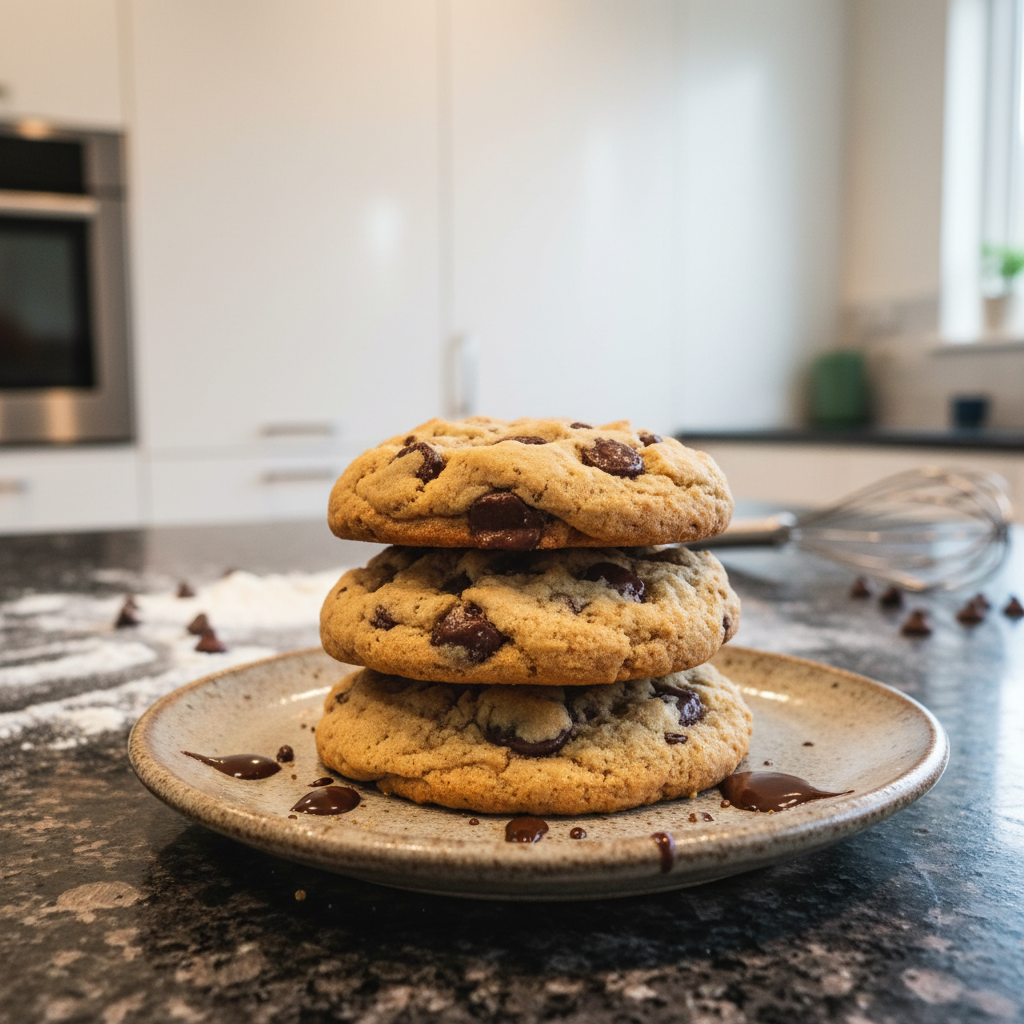
Sandwich a scoop between two warm, gooey air fryer chocolate chip cookies.
Serve a dollop on top of a warm slice of vegan apple pie for a classic dessert pairing.
Top it with fresh berries and a sprinkle of chopped nuts for a lighter, refreshing option.
Storage and Make-Ahead
To store leftover vegan ice cream and prevent ice crystals, always transfer it to an airtight container. Press a layer of plastic wrap or parchment paper directly onto the surface of the ice cream before sealing the container. This creates a barrier against air exposure, which is the main culprit for ice crystals. Your homemade vegan ice cream will last approximately 2 to 3 weeks in the freezer. When you are ready to enjoy it after it has been fully frozen, simply take it out of the freezer and let it sit at room temperature for about 5 to 10 minutes. This will soften it just enough for easy scooping.
Conclusion
You now have the tools and the secret to making truly creamy, decadent, and dairy-free vegan ice cream right in your own kitchen. Remember the simple yet powerful trick of using a tiny pinch of xanthan gum for that unbelievably smooth texture, free from pesky ice crystals. Do not hesitate to experiment with different flavors, mix-ins, and toppings to make it your own. Enjoy this delicious vegan ice cream recipe and share it with your friends!
FAQ
Can I make this vegan ice cream without an ice cream maker?
Yes, you can make a no-churn version of this vegan ice cream. After blending and chilling the mixture, pour it into a shallow freezer-safe container. Freeze for about 30-45 minutes, then remove and vigorously whisk or beat it to break up ice crystals. Repeat this process every 30-45 minutes for 2-3 hours until it reaches a thick, creamy consistency. For more detailed instructions, you might refer to specific no-churn recipes online.
How long does vegan ice cream last in the freezer, and how should I store it?
Your homemade vegan ice cream will typically last for about 2 to 3 weeks in the freezer. To store it properly, transfer it to an airtight container. For best results in preventing ice crystals, press a layer of plastic wrap or parchment paper directly onto the surface of the ice cream before securing the lid. This minimizes air exposure.
What’s the best way to soak the cashews for this recipe?
For the creamiest texture, soaking the raw cashews is essential. You have two primary methods: overnight soaking or the quick-boil method. For overnight soaking, place the cashews in a bowl, cover with cold water, and let them sit for at least 8 hours or up to 24 hours. For the quick-boil method, place the cashews in a pot, cover with water, bring to a boil, and simmer for 5 minutes. Drain them thoroughly before blending.
Can I substitute the cane sugar with a different sweetener? What are the potential effects?
Yes, you can substitute cane sugar with other granulated sugars or liquid sweeteners like maple syrup or agave nectar. Keep in mind that using liquid sweeteners may slightly alter the texture of the vegan ice cream, often making it a bit softer and potentially requiring a slightly longer freeze time. The flavor profile will also change depending on the sweetener chosen. For instance, maple syrup will impart a subtle maple flavor.
What can I add into the basic vanilla ice cream recipe to add different flavours, such as Chocolate Chips?
The basic vanilla vegan ice cream recipe is a wonderful canvas for creativity! You can stir in a variety of mix-ins during the last few minutes of churning, or after you have scooped it into the freezer container. Popular additions include chocolate chips, chopped nuts like pecans or walnuts, fresh or frozen fruit pieces, swirls of vegan caramel sauce or raspberry jam, cookie crumbles, or even a dash of spices like cinnamon or cardamom.
How can I reduce the coconut flavour of the ice cream?
While coconut milk is central to the creaminess of this vegan ice cream, you can reduce its prominent flavor by using a smaller amount of full-fat coconut milk and replacing the remaining volume with another neutral-tasting non-dairy milk, such as unsweetened almond milk or oat milk. Be aware that this might slightly affect the overall richness and texture of the final product, potentially making it a little less dense. Adding a stronger flavor like chocolate or coffee can also help mask the coconut taste.

Creamy Vegan Ice Cream: No Ice Crystals, Guaranteed
Ingredients
Equipment
Method
- Ensure your ice cream maker freezer drum is completely frozen, ideally for at least 24 hours, to prevent ice crystals.
- Soak cashews thoroughly using either the overnight method (at least 8 hours in cold water) or the quick-boil method (simmer for 5 minutes, then drain).
- In a high-speed blender, combine the soaked cashews, full-fat coconut milk, vanilla bean paste, cane sugar, sea salt, and xanthan gum. Blend on high speed for 2 to 4 minutes until completely smooth and velvety, ensuring no cashew bits remain.
- Pour the blended mixture into a covered bowl or container and chill thoroughly in the refrigerator for at least 4 hours, or up to 2 days. This allows flavors to meld and improves churning texture.
- Remove the chilled mixture from the fridge. Set up your ice cream machine and pour in the cold mixture. Churn for 20 to 25 minutes until it reaches a thick, smooth, soft-serve consistency. Taste and adjust sweetness if desired.
- Scoop the soft-serve ice cream into a freezer-safe container (like a loaf pan). Smooth the top and press plastic wrap directly onto the surface to prevent air exposure and ice crystals. Wrap the container and freeze for at least 4 hours, or overnight, to firm up.
- After freezing, remove the container from the freezer and let it sit at room temperature for at least 5 minutes to soften slightly. Scoop and enjoy your incredibly creamy vegan ice cream.
Notes

Sophie Reynolds is a baking specialist and dessert contributor at YumEasyMeals. She develops approachable, family-friendly dessert recipes focused on flavor, simplicity, and reliable results for everyday home cooks.