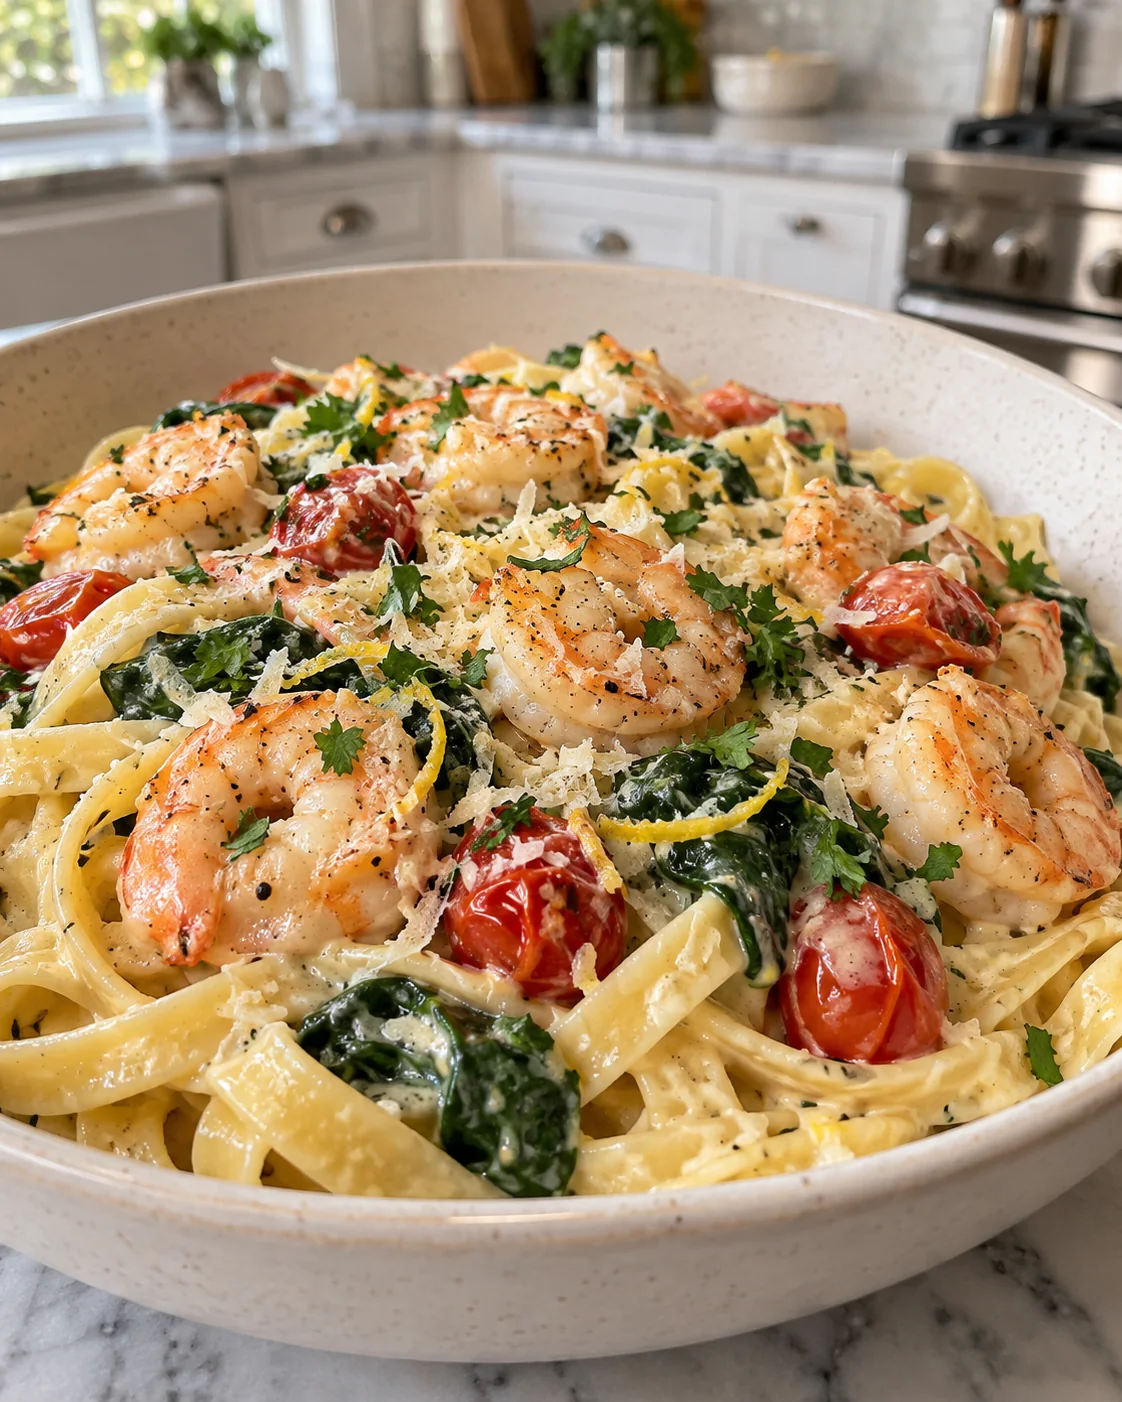
There’s nothing quite like waking up to the aroma of freshly made waffles, golden and inviting, with that perfect balance of crispy exterior and a wonderfully fluffy interior. As a chef, I’ve spent countless mornings perfecting my breakfast staples, and I can confidently say I’ve cracked the code for the ultimate plant-based version. Forget soggy or dense vegan alternatives; this recipe for Vegan Waffles will transform your breakfast experience. It’s incredibly easy to make, entirely plant-based, and delivers an exceptionally crispy and fluffy result, all thanks to a unique secret ingredient you might already have in your pantry.
Why You’ll Love This Vegan Waffles Recipe
When it comes to vegan waffles , the challenge has always been achieving that elusive airy, light texture without eggs. My secret? Aquafaba! This brilliant ingredient, the brine from a can of chickpeas, works wonders by mimicking egg whites when whipped. Here’s why this recipe stands out:
- Unbelievably Crispy & Fluffy: The addition of lightly whipped aquafaba increases aeration in the batter, leading to an incredibly lighter, airier, and significantly crispier waffle. It’s a game-changer for texture.
- Dairy-Free & Egg-Free Delight: Perfect for those following a plant-based diet or managing allergies, these waffles are entirely dairy-free and egg-free , proving you don’t need animal products for a luxurious breakfast .
- Simple & Accessible: Despite its gourmet results, this recipe uses pantry-friendly ingredients and straightforward steps, making it surprisingly simple for any home cook to master.
- Superior Texture: The aquafaba doesn’t just make them light; it creates a delicate, melt-in-your-mouth interior while ensuring a satisfyingly crisp golden-brown crust.
Ingredients Needed

Here’s what you’ll need to make these fantastic vegan waffles :
- 1 ½ cups unsweetened soy milk (360mL) or coconut milk or any vegan milk)
- 2 teaspoons apple cider vinegar (10mL) or lemon juice)
- 2 cups all-purpose flour (240g)
- 1 tablespoon baking powder (14.4g)
- ½ teaspoon sea salt (2.8g)
- 1 tablespoon brown sugar (12.5g) or maple syrup)
- ¼ cup melted coconut oil (60mL) or melted vegan butter or any oil)
- ½ teaspoon vanilla extract (2.1g))
- fruits to serve or a dollop of vegan whipped cream
Ingredient Notes & Substitutions
While the core recipe above gives you a solid foundation, let’s dive into some specifics and how to integrate our special twist for the ultimate crispy and fluffy results.
- Aquafaba (The Secret Ingredient): This is truly the key to the extra crispiness and fluffiness, mimicking egg whites perfectly. For the “super crispy” version I’m describing, you will replace about ½ cup of the listed unsweetened soy milk with ½ cup of lightly whipped aquafaba . We’ll detail this integration in the instructions.
- Plant-Based Milk: While I prefer unsweetened soy milk for its protein content, you can easily use other options like unsweetened coconut milk, almond milk, or oat milk. Just ensure they are unsweetened to control the sugar level.
- Acid for Vegan Buttermilk: The apple cider vinegar or lemon juice is crucial. When combined with the plant milk, it creates a quick vegan buttermilk , which reacts with the baking powder to give your waffles fantastic lift and a tender texture.
- Flour: Good old all-purpose flour works beautifully for these waffles. If you need gluten-free waffles , I’ve had great success with King Arthur gluten-free flour. Just be aware that gluten-free flours can sometimes result in a slightly denser texture.
- Sweeteners: I love brown sugar for its rich, caramelized flavor, but maple syrup is also an excellent liquid sweetener option, adding a lovely depth.
- Fats: Melted coconut oil or melted vegan butter are my top choices for flavor and texture. You can also use other neutral oils. For a healthier twist, a ripe mashed banana can also work, though it will alter the texture and flavor slightly.
- Leavening Agent: Ensure your baking powder is fresh and active! It’s vital for those wonderfully fluffy waffles. A quick fizz test in warm water can confirm its potency.
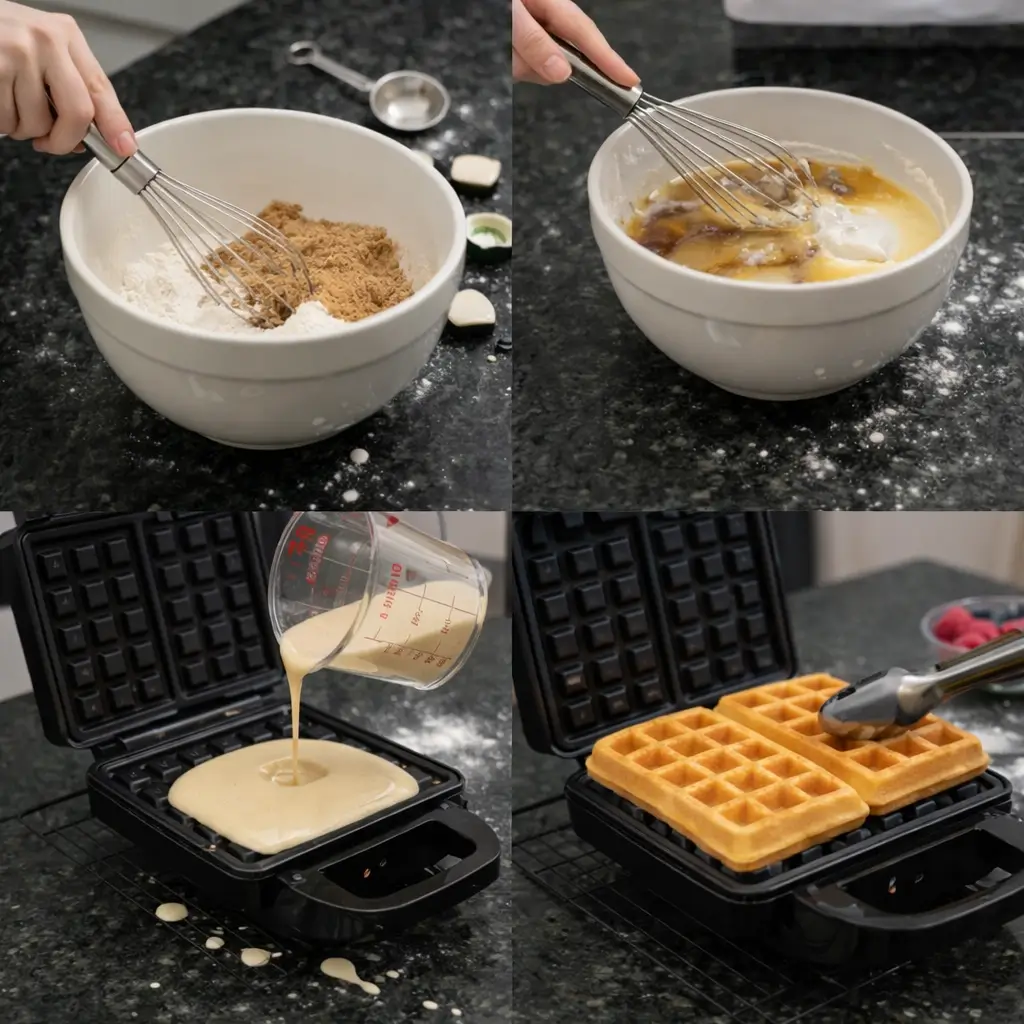
How to Make Crispy & Fluffy Vegan Waffles
Get ready to create some of the best vegan waffles you’ve ever tasted! Here’s my step-by-step guide, including our unique aquafaba twist.
1. Prepare Vegan Buttermilk & Aquafaba
Begin by mixing 1 cup (240mL) of your unsweetened plant milk (reserving ½ cup for later if using aquafaba), vanilla extract , and the apple cider vinegar or lemon juice together in a small bowl or measuring cup. Set this aside for about 5 minutes to curdle and create your vegan buttermilk . Crucially, in a separate, clean bowl, whip ½ cup of chilled aquafaba to stiff peaks. This airy foam will be gently folded into the batter later.
2. Combine Dry Ingredients
In a large bowl, it’s time to sift the flour, baking powder, and salt . Trust me, sifting your ingredients really helps with the fluffiness of the waffles, incorporating air and preventing lumps for a smoother batter.
3. Mix Wet Ingredients
Add the brown sugar , melted coconut oil (or vegan butter), and the prepared vegan buttermilk mixture to your dry ingredients. This forms the base of our incredible batter.
4. Gently Form Batter & Fold in Aquafaba
Using a spatula, gently mix the batter until JUST combined . Emphasize this: don’t overmix your batter; lumpy waffle batter is key for light and fluffy waffles . The batter should be thick and scoopable. Now, gently fold in the whipped aquafaba until just incorporated, being careful not to deflate all that beautiful air you’ve worked to create. This is where the magic happens for extra crispiness and fluffiness!
5. Preheat Waffle Maker
Turn on and preheat your waffle maker to your desired setting. I usually go for a medium setting because I like my waffles crisp and golden but still very fluffy on the inside. For the best results, ensure all your wet ingredients are room temperature before mixing, as this helps with batter emulsification.
6. Cook Waffles
Always lightly grease your waffle iron before each waffle, even if it’s non-stick, to prevent sticking and ensure a beautiful release. Using a ½ cup measuring cup, scoop batter into the center of the greased waffle maker . Close the lid and let cook until the steam has COMPLETELY stopped from the waffle maker. Don’t open it before the steam is finished! This is absolutely vital for developing that coveted crispy exterior.
7. Keep Warm
As each waffle finishes cooking, remove it and place it on a baking sheet in a warm oven (around 200°F/95°C) to keep warm and crispy while you finish cooking the rest of the batter. This ensures everyone gets to enjoy a perfectly warm waffle.
8. Serve and Enjoy!
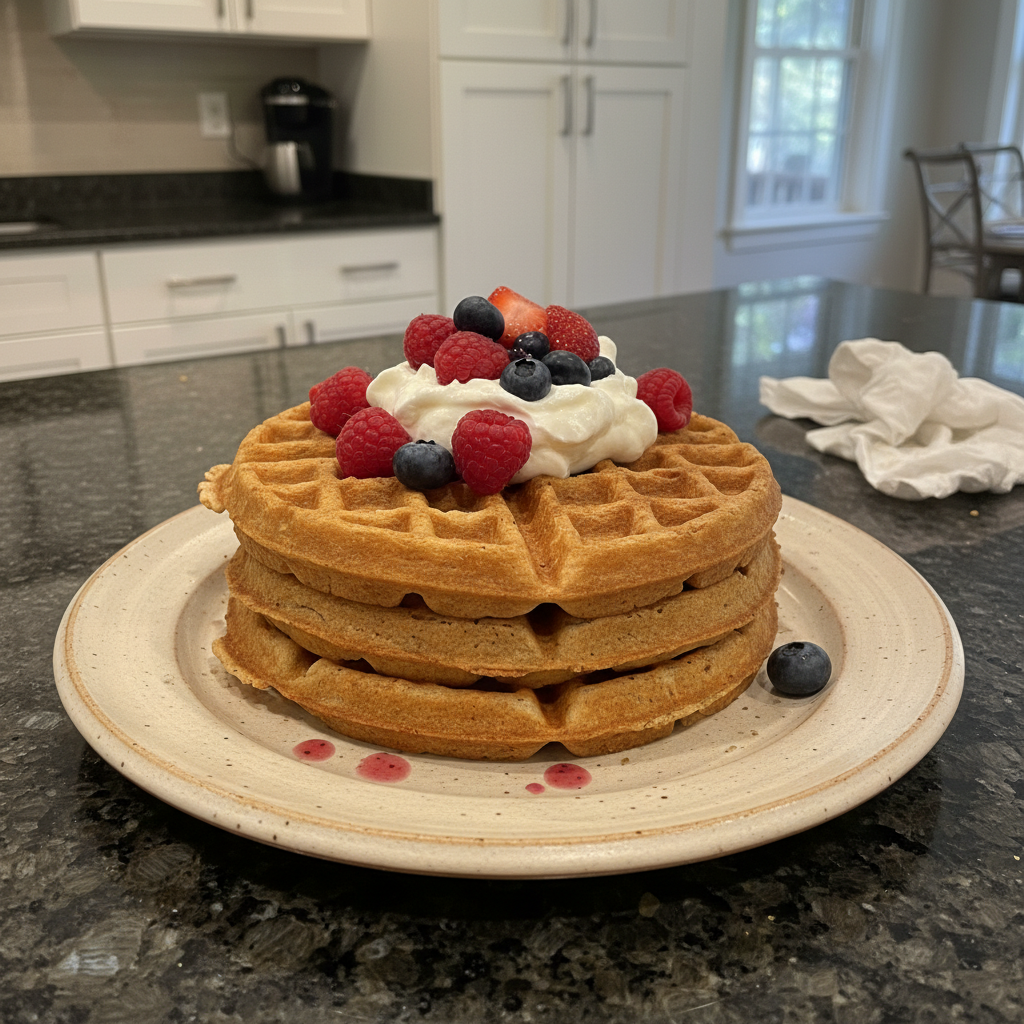
Serve your beautiful, crispy , fluffy , plant-based waffles immediately with your favorite toppings! A simple drizzle of maple syrup , a generous spoon of blueberry sauce , or a dollop of vegan whipped cream makes for an unforgettable breakfast .
Mastering Your Waffle Maker & Troubleshooting Tips
Getting to know your waffle maker is key to achieving consistent, perfect results every time. Here’s what I’ve learned in my kitchen.
Choosing and Using Your Waffle Maker
- Waffle Maker Types: You’ll typically find two main types: classic (thinner, smaller grids, yielding thinner waffles) and Belgian (deeper pockets, thicker waffles). Both can produce crispy and fluffy results, but Belgian waffle maker types tend to create thicker, more substantial waffles with deeper pockets for holding toppings.
- Temperature Settings: Don’t be afraid to experiment! Most waffle maker models have different heat settings. A medium-high setting is often ideal for a golden-brown exterior and a tender interior. Higher settings will yield a crispier, darker waffle, while lower settings can result in a softer, paler finish.
- Preheating is Key: I cannot stress this enough: thoroughly preheating waffle maker before adding any batter is absolutely essential. This ensures even cooking, prevents sticking, and helps develop that beautiful crust from the start. Wait for the indicator light or listen for the machine to stop heating up.
Troubleshooting Common Vegan Waffle Issues
- Waffles Sticking: The most common culprit! To how to keep waffles from sticking , always lightly grease your waffle iron before each waffle, even if it’s non-stick. Ensure the waffle maker is fully preheated, and don’t overfill it, as excess batter can ooze and bake onto the edges.
- Uneven Cooking: This can happen due to cold spots on your waffle maker or inconsistent batter spreading. Ensure the iron is fully preheated. When pouring batter, aim for the center and let it spread naturally. Avoid pushing it to the edges, as this can compress the batter and lead to uneven texture.
- Waffles Not Crispy Enough: If your waffles are lacking that delightful crunch, double-check your method. The aquafaba is critical for crispiness. Also, remember to let all the steam from your waffle iron dissipate completely before opening the lid. That steam is moisture leaving the waffle, and holding it in too long or opening too early traps it, leading to a softer waffle.
- Batter Consistency Issues: The batter should be thick and scoopable, not runny. If your batter is too thick, add a splash more plant milk, a tablespoon at a time, until it reaches the right consistency. If it’s too thin, a tablespoon or two of extra flour can help thicken it up.
Pro Tips & Common Mistakes to Avoid
Even the most seasoned chefs rely on a few tricks and learn from past errors. Here are my top tips and pitfalls to steer clear of for perfect vegan waffles every time.
Pro Tips for Perfect Vegan Waffles
- Activate Your Leavening: Before you even start, test to ensure that your baking powder is still active . Mix a teaspoon in a little hot water; if it fizzes vigorously, you’re good to go. A quick fizz test can save your waffles from being flat and dense!
- Don’t Overmix: I can’t say it enough: Don’t overmix your batter . Lumps are good! Overmixing develops gluten, leading to dense, chewy waffles instead of beautifully fluffy ones. Mix until just combined.
- Sift Dry Ingredients: Sifting your ingredients really helps with the fluffiness by incorporating air and preventing pesky lumps in your batter.
- Room Temperature Wet Ingredients: Ensure all your wet ingredients are room temperature . This allows for better emulsification, creating a smoother, more uniform batter and often a better rise.
- Proper Greasing: Always lightly grease your waffle iron before each batch, even if it’s non-stick. This ensures easy release and helps achieve that lovely golden-brown crust.
- Be Patient with Steam: This is a crucial one! ALWAYS let the steam from your waffle iron dissipate before you open the waffle iron . This is the signal that your waffle is cooked through, dried out, and ready to be gloriously crispy .
- Embrace Aquafaba: Remember to gently fold in the whipped aquafaba at the very end. Its airy structure directly contributes to the waffles’ superior crispy and fluffy texture.
Common Mistakes to Avoid
- Overmixing the Batter: This is the number one culprit for tough, rubbery waffles. Stop mixing as soon as the ingredients are just combined, even if there are a few small lumps.
- Opening Waffle Maker Too Soon: This releases precious heat and steam, resulting in pale, soggy waffles that haven’t had a chance to crisp up. Wait for the steam to stop!
- Not Greasing the Iron: A guaranteed way to end up with waffles sticking to the iron and tearing apart when you try to remove them.
- Using Inactive Baking Powder: Results in flat, dense vegan waffles that don’t rise properly. Always test it if you’re unsure!
- Cold Wet Ingredients: Can lead to a less cohesive batter, slower reactions with the leavening, and potentially uneven cooking.
- Forgetting the Vegan Buttermilk: Skipping the acid (apple cider vinegar or lemon juice) means your waffles won’t be as light and fluffy , as the crucial leavening reaction won’t occur.
Serving & Storage
Once you’ve mastered these crispy and fluffy vegan waffles , you’ll want to enjoy them in every possible way and know how to keep them fresh for future delights!
Delicious Serving Ideas
- Classic Toppings: My go-to is always a generous drizzle of warm maple syrup and a handful of fresh fruits to serve like berries or sliced bananas. A dollop of vegan whipped cream truly elevates the experience.
- Creative Toppings: Don’t stop at the classics! Experiment with homemade blueberry sauce , a sprinkle of chocolate chips (vegan, of course!), chopped nuts, or even a scoop of vegan ice cream for a decadent dessert.
- Savory Pairings: For the adventurous cooks, vegan waffles can be an unexpected base for savory dishes. Think vegan ‘chicken’ and waffles or top them with seasoned tofu scramble and avocado for a hearty twist on American cuisine .
- Breakfast Spread: Pair these with other plant-based breakfast items like tempeh bacon, fruit salad, or a protein-packed smoothie for a full, satisfying meal.
Storage and Make-Ahead Tips
- Making Batter Ahead: While the batter is best used fresh for optimal fluffiness (especially with the aquafaba twist), you can make the base batter (before folding in the whipped aquafaba) ahead of time. Refrigerate it in an airtight container for up to 1-2 days. Whip and gently fold in the aquafaba just before you’re ready to cook.
- Storing Cooked Waffles: To store leftover vegan waffles, and what’s the best way to reheat them? Allow them to cool completely on a wire rack to prevent sogginess. Then, store them in an airtight container in the refrigerator for up to 3-4 days.
- Freezing for Later: This is my favorite make-ahead trick! For longer storage, I recommend freezing your vegan waffles so they last! I recommend flash freezing them on a baking sheet until solid (about 1-2 hours). Once firm, transfer them to an airtight freezer bag or container. They will stay light and fluffy and delicious for up to 3 months.
- Reheating for Optimal Texture: Avoid the microwave! To maintain that wonderful crispy exterior, reheat cooked or frozen waffles in a toaster oven, conventional oven (around 300°F/150°C for 5-10 minutes), or even a regular toaster. They remain just as light and fluffy and crispy when reheated this way, making them perfect for busy mornings.
Conclusion
I hope you’re as excited as I am about this Crispy & Fluffy Vegan Waffles Recipe with Aquafaba Secret ! This isn’t just another plant-based breakfast ; it’s a culinary revelation that proves just how incredible vegan waffles can be. The aquafaba twist is a true game-changer, guaranteeing that perfect crispy texture and an airy, fluffy interior that will impress even the most discerning palate. Whether you’re a seasoned chef or a beginner in the kitchen, I promise you can achieve delicious results with these straightforward steps and expert tips. So, go ahead, give this recipe a try, experiment with your favorite toppings, and share your delicious creations. Don’t forget to save or print this recipe – it’s sure to become a cherished staple in your home!
FAQ
What type of plant-based milk works best in vegan waffles?
Unsweetened soy milk is excellent due to its protein content, but unsweetened coconut milk, almond milk, or oat milk also work wonderfully. The key is to choose an unsweetened variety.
What can I do to make my vegan waffles extra crispy?
The secret is using whipped aquafaba in the batter. Also, ensure your waffle maker is fully preheated, lightly greased, and crucially, wait until all steam from the waffle maker has completely stopped before opening the lid.
How can I prevent my vegan waffles from sticking to the waffle iron?
Always lightly grease your waffle iron before each batch, even if it has a non-stick coating. Make sure your waffle maker is fully preheated before adding batter.
How do I store leftover vegan waffles, and what’s the best way to reheat them?
Store cooled leftover waffles in an airtight container in the refrigerator for 3-4 days. For optimal crispiness, reheat them in a toaster oven, conventional oven, or a regular toaster. Avoid the microwave to prevent sogginess.
Can I add fruit or chocolate chips directly to the waffle batter?
Absolutely! You can gently fold in fresh berries, chopped fruit, or vegan chocolate chips into the batter just before cooking. Be careful not to overmix.
How can I make the waffle batter ahead of time?
You can prepare the base batter (without the whipped aquafaba) and refrigerate it in an airtight container for 1-2 days. Just before cooking, whip the aquafaba and gently fold it into the chilled batter.
Can I use gluten-free flour for this recipe?
Yes, you can! I recommend using a good quality all-purpose gluten-free flour blend, such as King Arthur gluten-free flour. The texture might be slightly denser than with all-purpose flour, but it will still be delicious.
What can I use instead of oil or vegan butter?
If you’re looking for an alternative, a ripe mashed banana can substitute for some of the fat, but it will slightly change the flavor and texture. Otherwise, any neutral-flavored oil like canola or sunflower oil will work.
What are the best vegan waffle toppings?
My favorites include classic maple syrup, fresh berries, sliced bananas, or a dollop of vegan whipped cream. You can also get creative with homemade blueberry sauce, chocolate chips, chopped nuts, or even a scoop of vegan ice cream!
Crispy & Fluffy Vegan Waffles Recipe with Aquafaba Secret
Ingredients
Equipment
Method
- Begin by mixing 1 cup (240mL) of your unsweetened plant milk, vanilla extract, and the apple cider vinegar or lemon juice together in a small bowl or measuring cup. Set this aside for about 5 minutes to create your vegan buttermilk. In a separate, clean bowl, whip ½ cup of chilled aquafaba to stiff peaks. This airy foam will be gently folded into the batter later.
- In a large bowl, sift the flour, baking powder, and salt. Sifting helps with fluffiness, incorporates air, and prevents lumps for a smoother batter.
- Add the brown sugar, melted coconut oil (or vegan butter), and the prepared vegan buttermilk mixture to your dry ingredients. This forms the base of the batter.
- Using a spatula, gently mix the batter until JUST combined. Do not overmix your batter; lumpy waffle batter is key for light and fluffy waffles. The batter should be thick and scoopable. Now, gently fold in the whipped aquafaba until just incorporated, being careful not to deflate all that beautiful air you’ve worked to create. This is where the magic happens for extra crispiness and fluffiness!
- Turn on and preheat your waffle maker to your desired setting. A medium setting is often ideal for crisp and golden waffles. Ensure all your wet ingredients are room temperature before mixing, as this helps with batter emulsification.
- Always lightly grease your waffle iron before each waffle, even if it's non-stick, to prevent sticking and ensure a beautiful release. Using a ½ cup measuring cup, scoop batter into the center of the greased waffle maker. Close the lid and let cook until the steam has COMPLETELY stopped from the waffle maker. Do not open it before the steam is finished! This is absolutely vital for developing that coveted crispy exterior.
- As each waffle finishes cooking, remove it and place it on a baking sheet in a warm oven (around 200°F/95°C) to keep warm and crispy while you finish cooking the rest of the batter. This ensures everyone gets to enjoy a perfectly warm waffle.
- Serve your beautiful, crispy, fluffy, plant-based waffles immediately with your favorite toppings! A simple drizzle of maple syrup, a generous spoon of blueberry sauce, or a dollop of vegan whipped cream makes for an unforgettable breakfast.
Notes

Taya Bennett is the founder of YumEasyMeals, a platform dedicated to easy, delicious, and quick-to-prepare recipes for busy families. Passionate about everyday cooking, she simplifies meals with practical, accessible, and always delicious ideas.
Discover her creations at: yumeasymeals.com