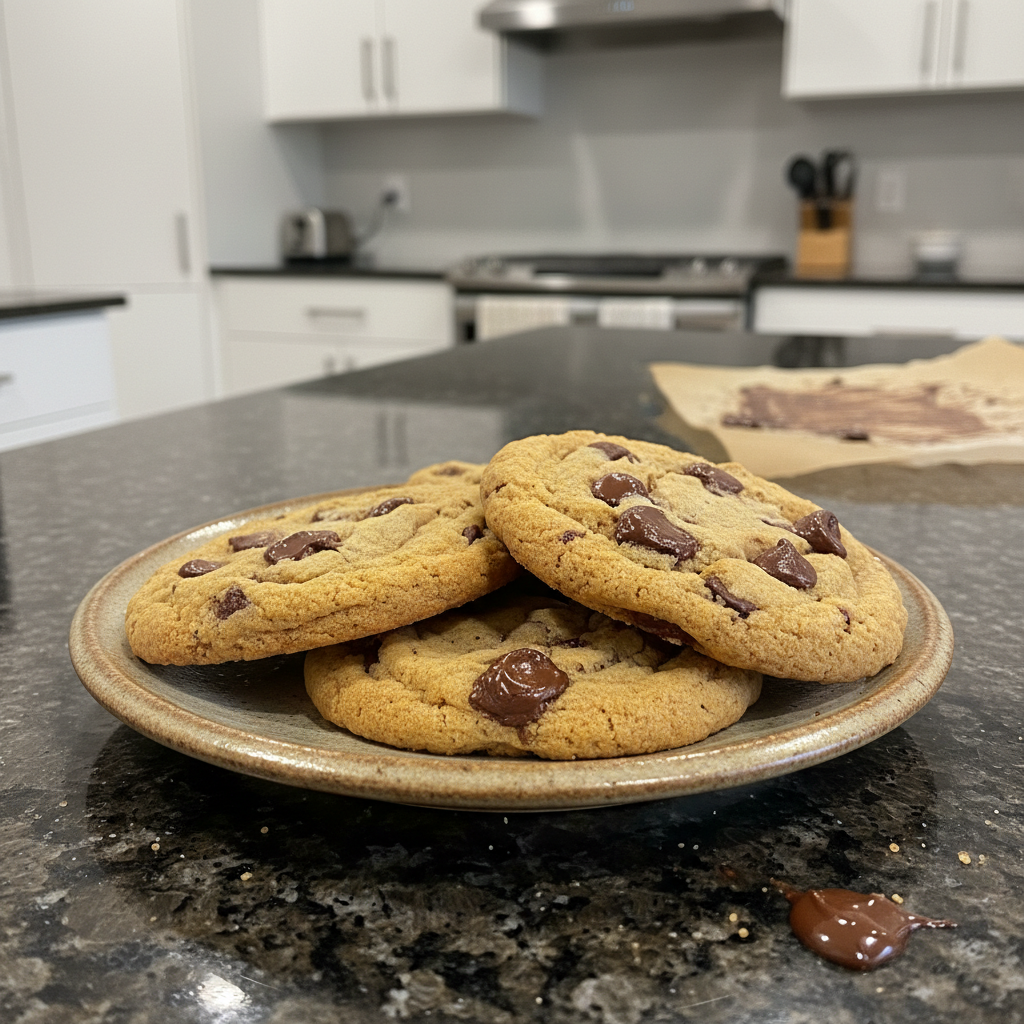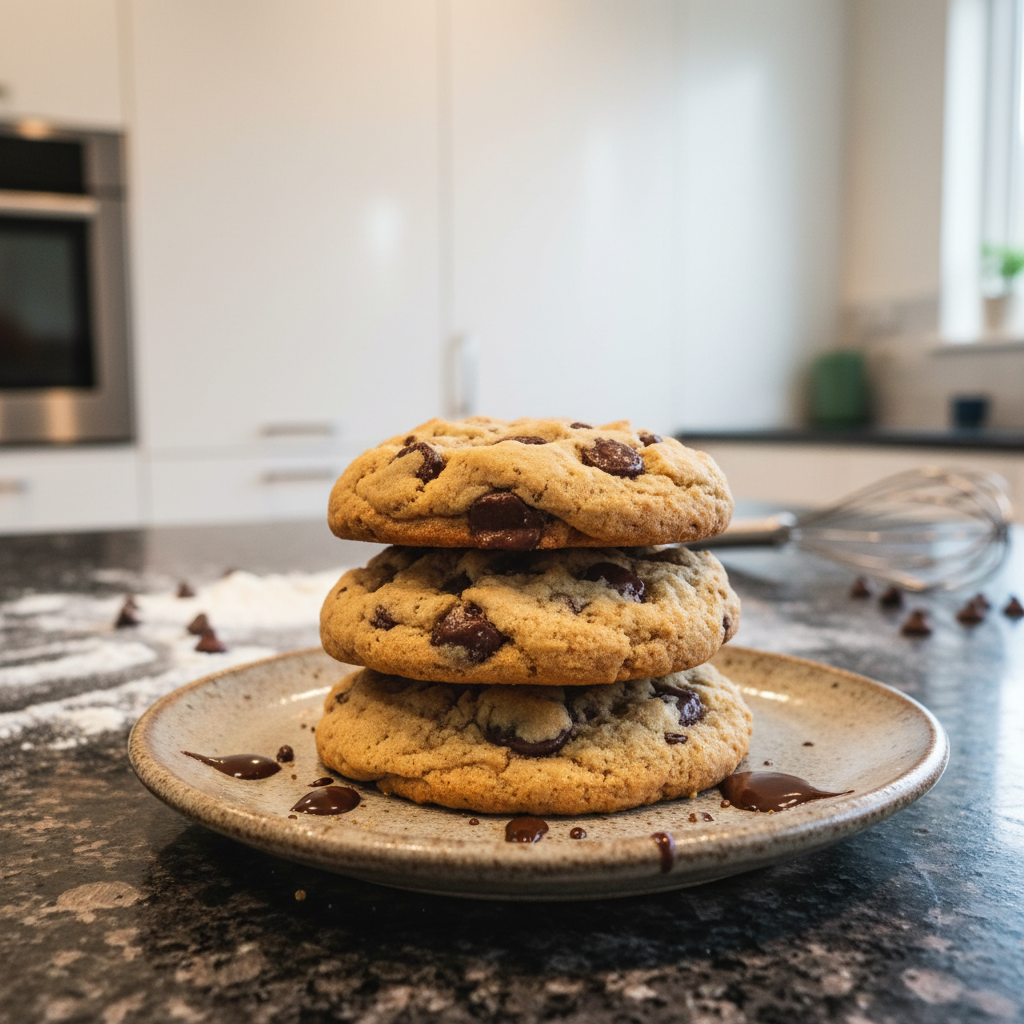
Welcome to my kitchen, where today we are making a truly irresistible Chocolate Peanut Butter Fudge. This classic American dessert is known for its sweet, rich, and peanut buttery goodness, and my recipe takes it up a notch. We are using a unique blend of dark chocolate and milk chocolate chips, ensuring a perfectly smooth, decadent texture and a wonderfully balanced flavor that is not overly sweet. Get ready to create a no-bake treat that is incredibly simple to make but tastes absolutely divine.
Why You’ll Love This Dark & Milk Chocolate Peanut Butter Fudge Recipe
The Unique Chocolate Blend: This recipe truly shines with its special combination of dark chocolate and milk chocolate chips. This blend creates a more complex and balanced flavor profile compared to using just one type of chocolate. The dark chocolate helps cut through the sweetness, appealing to a wider audience, while its higher cocoa butter content contributes to an incredibly smooth, melt-in-your-mouth texture.
Effortless & No-Bake: As a chef, I love a recipe that delivers big flavor with minimal fuss. This no-bake chocolate peanut butter fudge is incredibly simple and convenient, making it perfect for any skill level. We use the microwave for quick and easy melting, saving you time and effort.
Classic Comfort, Elevated: Chocolate peanut butter fudge is a beloved American dessert, and this version elevates it to new heights. It is easy to make yet delivers superior taste and a luxuriously smooth texture. It is a reliable crowd-pleaser for parties, holidays, or just a sweet treat at home.
Ingredients Needed
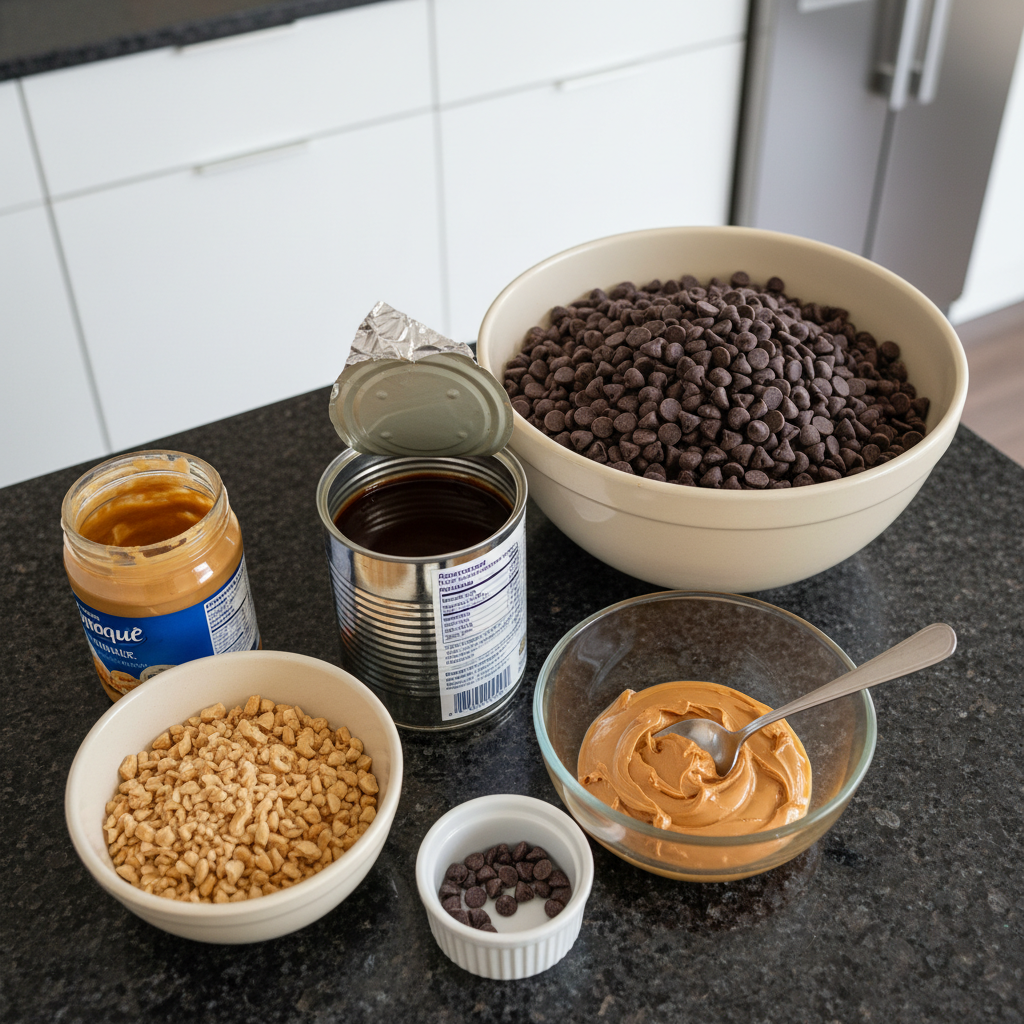
Here are the simple ingredients you will need for this decadent fudge:
- 1 can sweetened condensed milk ((14oz))
- 12 oz semi sweet chocolate chips
- 1 ½ cups peanut butter
- peanuts
- chocolate chips
Ingredient Notes & Substitutions
Sweetened Condensed Milk: This ingredient is absolutely crucial for both the sweetness and the incredibly creamy, smooth texture of our fudge. It helps create that signature melt-in-your-mouth consistency. For more details on its properties in food, you can learn more about sweetened condensed milk from a food science perspective. You will find brands like Eagle Brand commonly available in the US. For those with dietary needs, some dairy-free sweetened condensed milk alternatives are now available, though I always recommend testing small batches first with substitutions.
Chocolate Chips: This is where our unique twist comes in. While the base recipe calls for semi-sweet chocolate chips, I highly recommend using a blend of dark chocolate chips (around 60-70% cocoa) and milk chocolate chips. The dark chocolate provides a richer, less sweet chocolate flavor, which beautifully complements the peanut butter. The milk chocolate adds a creamy sweetness and helps achieve that classic fudge appeal. The higher cocoa butter content in quality dark chocolate also helps create a smoother, more stable fudge. Experiment with your favorite brands for the best flavor.
Peanut Butter: The type of peanut butter you choose significantly impacts the final fudge. For optimal smoothness, I recommend using a conventional creamy peanut butter (like Jif or Skippy). These brands are typically smoother, sweeter, and more stable, ensuring your fudge sets perfectly. Natural peanut butter, while delicious, often separates oil and can sometimes lead to a slightly grainier or softer fudge texture due to its different composition and lower sugar content. If you prefer a bit of crunch, you can certainly use chunky peanut butter.
Optional Toppings: The “peanuts” and “chocolate chips” listed are for optional garnishes. I love adding chopped roasted peanuts for an extra layer of crunch and flavor. You could also drizzle a thin layer of chocolate ganache on top for an even more decadent presentation, or simply sprinkle with extra chocolate chips.
How to Make Chocolate Peanut Butter Fudge
Making this chocolate peanut butter fudge is incredibly straightforward. Just follow these steps for a perfect batch every time.
Step 1: Prep Your Pan
Begin by preparing your 8×8 pan. Line the entire pan with foil, making sure to leave an overhang on all sides. This foil overhang acts as a convenient handle, allowing you to easily lift the set fudge out of the pan later. This step is crucial for preventing sticking and making the cutting process much simpler and cleaner.
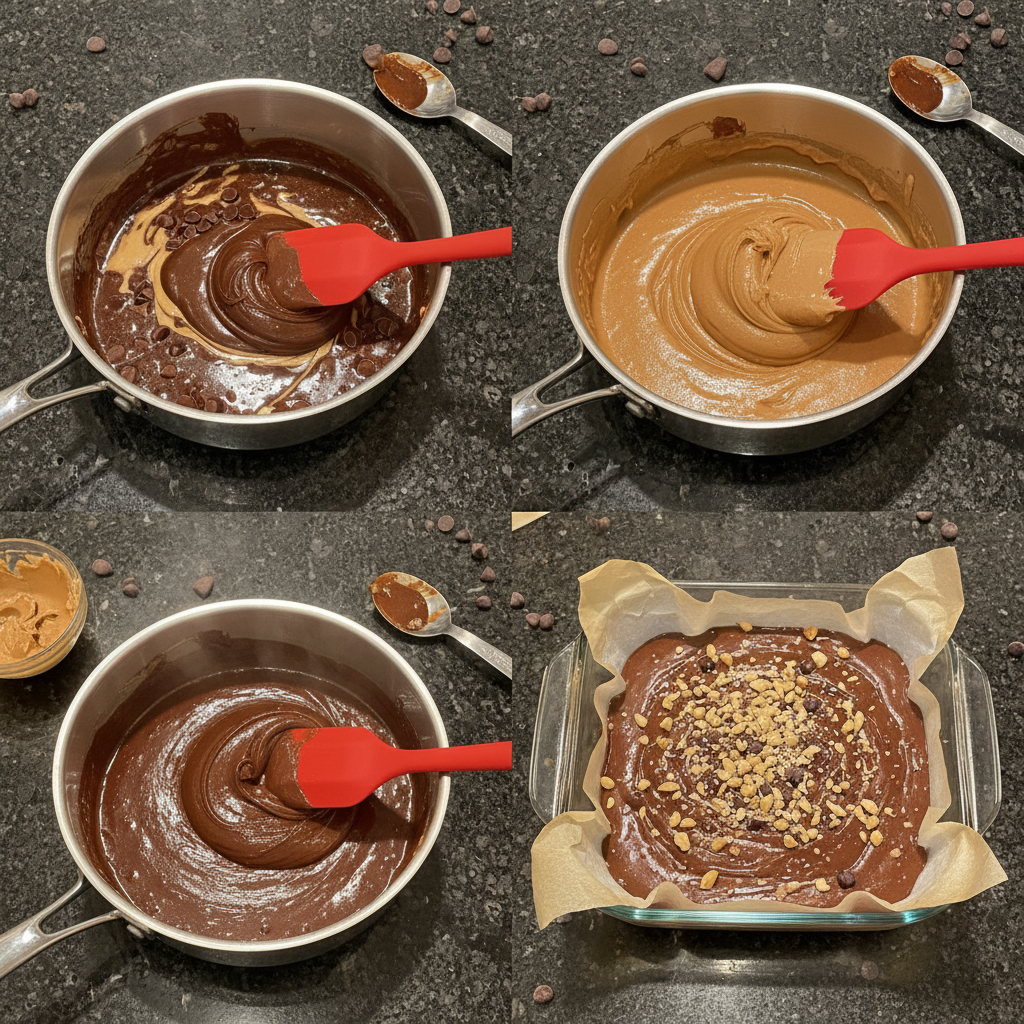
Step 2: Melt the Chocolate & Milk
In a large, microwave-safe bowl, combine the sweetened condensed milk and the semi-sweet chocolate chips. Place the bowl in the microwave and heat for 1 to 2 minutes. I recommend microwaving in 30-second bursts, stirring thoroughly after each interval, until the mixture is completely smooth and glossy. You want all the chocolate chips to be fully melted and integrated, creating a rich, flowing chocolate base. Be careful not to scorch the chocolate. If you prefer, you can also melt this mixture in a double boiler over simmering water on the stovetop, stirring constantly until smooth.
Step 3: Incorporate Peanut Butter
Once your chocolate and sweetened condensed milk mixture is smooth, add the peanut butter to the bowl. Stir continuously and thoroughly until the peanut butter is fully incorporated into the chocolate mixture. Keep stirring until the mixture is uniformly smooth, thick, and beautifully blended. There should be no streaks of peanut butter visible.
Step 4: Top & Chill
Immediately pour the warm fudge mixture into your prepared 8×8 pan. Use a spatula to spread it evenly into the corners of the pan. If you are adding any desired toppings, such as extra peanuts or chocolate chips, sprinkle them over the fudge surface right away before it begins to set. Once topped, place the pan in the refrigerator for at least 1 hour to allow the fudge to properly chill and firm up. This chilling time is essential for a perfectly set fudge.
Step 5: Cut & Serve
After the fudge has fully chilled and set, use the foil overhang to carefully lift the entire block of fudge out of the pan. Place it on a cutting board. For clean, neat squares, I like to use a sharp knife that has been warmed under hot water and then wiped dry between each cut. Cut the fudge into your desired square sizes and serve.
Achieving Silky Smooth Fudge & Troubleshooting Common Issues
Nobody wants grainy fudge or a batch that simply refuses to set. Here is how to ensure your chocolate peanut butter fudge is perfectly smooth and firm every time.
Preventing Grainy Fudge: Graininess in fudge is typically caused by sugar crystallization. To prevent this, ensure proper melting technique; use low and slow heat, whether in the microwave with short bursts and stirring, or a double boiler on the stovetop. For more in-depth information on how to control sugar crystallization in fudge, explore this resource. Avoid over-stirring once all ingredients are combined, as excessive agitation can encourage sugar crystals to form. Make sure all sugar from the sweetened condensed milk is fully dissolved into the chocolate mixture before adding the peanut butter. Taking your time with the melting process is key for achieving that desired smooth texture.
Troubleshooting Fudge Not Setting: If your fudge does not set properly, it can be frustrating. Common reasons include incorrect ingredient ratios, especially too much liquid or not enough thickeners. Insufficient chilling time is another culprit; always refrigerate for at least the recommended 1 hour, or longer if needed. High humidity in your kitchen can also sometimes affect setting. If your fudge seems too soft after chilling, try returning it to the refrigerator for a few more hours, or even overnight. For future batches, double-check your measurements, particularly for the sweetened condensed milk and peanut butter, as precision matters for proper setting.
Temperature Control: Maintaining correct temperatures throughout the process is important for optimal texture. Overheating the chocolate can cause it to seize or burn, leading to a tough, grainy fudge. Conversely, not heating enough will prevent the mixture from fully integrating and setting correctly. During cooling, the rapid chill in the refrigerator helps the fudge set quickly and firmly, contributing to a wonderfully smooth texture.
Pro Tips & Common Mistakes to Avoid
Even simple recipes benefit from a few expert insights. Here are my pro tips and some common mistakes to sidestep when making chocolate peanut butter fudge.
Pro Tips
Elevate with Quality: For the absolute best flavor and texture, use high-quality dark and milk chocolate chips. The difference in taste will be noticeable and contribute to a truly premium chocolate peanut butter fudge.
Precision Matters: Accurate measurements are essential for any baking, but especially for fudge. Make sure you measure your sweetened condensed milk and peanut butter precisely to ensure the correct consistency and proper setting of your fudge.
Don’t Overheat: When melting your chocolate, whether in the microwave or a double boiler, always use gentle heat. Overheating can cause the chocolate to seize, becoming thick and unworkable, or even burn, leading to a bitter taste and grainy texture. Low and slow is the way to go.
Enhance with Ganache: For an extra layer of decadence and a beautiful finish, consider drizzling a thin layer of homemade chocolate ganache over the cooled fudge. It adds richness and a gourmet touch.
Quick Variations: For a slightly different flavor profile and potentially quicker set, you can partially substitute some of the peanut butter with Reese’s peanut butter chips when melting the chocolate mixture. This adds an extra layer of peanut butter flavor.
Common Mistakes to Avoid
Rushing the Chill: Do not skip or shorten the refrigeration time. It is crucial to refrigerate the chocolate peanut butter fudge for the full recommended 1 hour (or more) for it to properly set. Rushing this step will result in soft, messy squares that are hard to cut cleanly.
Improper Pan Prep: Neglecting to line your 8×8 pan with foil, especially with an overhang, is a common mistake. Without it, your fudge can stick to the pan, making removal difficult and potentially ruining the shape of your beautiful fudge.
Inconsistent Stirring: During the melting process, inconsistent stirring can lead to hot spots in the chocolate, causing it to scorch in some areas while remaining unmelted in others. This can result in an uneven texture and an unappetizing flavor. Stir often and thoroughly.
Too Much Liquid: Unless a recipe specifically calls for it, avoid adding any extra liquids to your fudge mixture. Even a small amount of additional liquid can throw off the delicate balance of ingredients, preventing the fudge from setting correctly.
Serving & Storage
Once your chocolate peanut butter fudge is ready, here is how to best enjoy and preserve it.
Serving Ideas
Decadent Dessert: This chocolate peanut butter fudge is a naturally sweet, rich, peanut buttery, and decadent treat that is perfect all on its own. Because it is quite high calorie and high fat, I always recommend cutting it into small squares to savor each bite. It is incredibly satisfying!
Garnishing: Enhance the flavors and presentation by garnishing your fudge. A sprinkle of flaky sea salt on top can beautifully balance and enhance both the chocolate and peanut butter notes. A light dusting of cocoa powder or a generous scattering of chopped peanuts or extra chocolate chips also makes for a lovely finish.
Pairing Suggestions: This fudge pairs wonderfully with a tall glass of cold milk, a steaming mug of coffee, or even a shot of espresso. It is also a fantastic addition to a larger dessert platter for holidays, potlucks, or any special occasion.
Storage and Make-Ahead
Refrigerator Storage: To keep your chocolate peanut butter fudge fresh and firm, store it in an airtight container in the refrigerator. Properly stored, it will maintain its delicious flavor and texture for up to 2 to 3 weeks. Keeping it airtight and chilled also helps prevent dryness or crystallization.
Freezer Storage: Fudge is an excellent make-ahead dessert and freezes beautifully. To freeze, first wrap individual squares or blocks tightly in foil. Then, place the foil-wrapped pieces into a freezer-safe airtight container or heavy-duty freezer bag. This double layer of protection prevents freezer burn. Your fudge can be stored in the freezer for up to 3 to 4 months. To thaw, simply transfer the desired amount of fudge to the refrigerator overnight or let it sit at room temperature for an hour or two until softened.
Make-Ahead Tips: This fudge is ideal for making ahead of time. You can prepare it days or even weeks in advance, making it perfect for holiday gifts, party platters, or just having a sweet treat ready whenever a craving strikes.
Conclusion
I truly hope you enjoy this easy Dark & Milk Chocolate Peanut Butter Fudge recipe. With its unique blend of dark and milk chocolate, it offers a more complex flavor and a wonderfully smooth texture that is simply irresistible. This no-bake chocolate peanut butter fudge proves that creating a decadent, high-quality dessert does not to be complicated. Whether you are a beginner or an experienced home cook, you will find success with this reliable recipe. I encourage you to try it in your own kitchen and discover the joy of this elevated classic. Feel free to experiment with toppings or share your creations with friends and family. Happy cooking!
FAQ
How long does chocolate peanut butter fudge last?
When stored properly in an airtight container in the refrigerator, chocolate peanut butter fudge can last for up to 2 to 3 weeks.
Can I freeze chocolate peanut butter fudge?
Yes, chocolate peanut butter fudge freezes very well. Wrap individual pieces tightly in foil, then place them in a freezer-safe airtight container for up to 3 to 4 months.
What’s the best way to store chocolate peanut butter fudge?
The best way to store chocolate peanut butter fudge is in an airtight container in the refrigerator to maintain its freshness, texture, and prevent it from drying out or crystallizing.
What kind of peanut butter should I use for fudge?
For the smoothest texture, I recommend using conventional creamy peanut butter. Natural peanut butter can sometimes lead to a softer or grainier fudge due to oil separation.
How can I prevent my fudge from becoming grainy?
To prevent grainy fudge, ensure all ingredients are properly dissolved by melting slowly and gently. Avoid over-stirring once all ingredients are combined, as this can encourage sugar crystallization.
Can I use a double boiler instead of a microwave?
Yes, you can absolutely use a double boiler on the stove to melt the chocolate chips and sweetened condensed milk. Stir constantly over simmering water until the mixture is completely smooth.
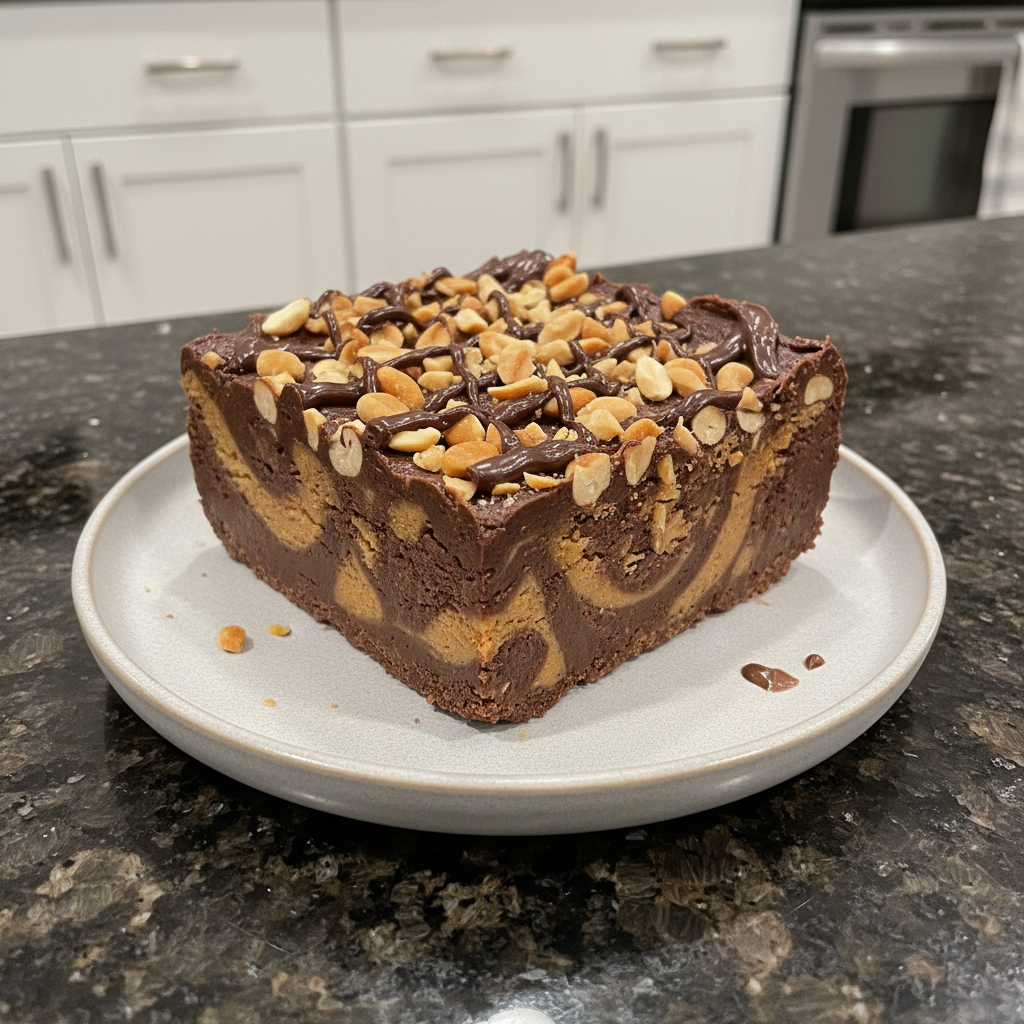
Easy Dark & Milk Chocolate Peanut Butter Fudge Recipe
Ingredients
Equipment
Method
- Begin by preparing your 8x8 pan. Line the entire pan with foil, making sure to leave an overhang on all sides. This foil overhang acts as a convenient handle, allowing you to easily lift the set fudge out of the pan later. This step is crucial for preventing sticking and making the cutting process much simpler and cleaner.
- In a large, microwave-safe bowl, combine the sweetened condensed milk and the semi-sweet chocolate chips. Place the bowl in the microwave and heat for 1 to 2 minutes. I recommend microwaving in 30-second bursts, stirring thoroughly after each interval, until the mixture is completely smooth and glossy. You want all the chocolate chips to be fully melted and integrated, creating a rich, flowing chocolate base. Be careful not to scorch the chocolate. If you prefer, you can also melt this mixture in a double boiler over simmering water on the stovetop, stirring constantly until smooth.
- Once your chocolate and sweetened condensed milk mixture is smooth, add the peanut butter to the bowl. Stir continuously and thoroughly until the peanut butter is fully incorporated into the chocolate mixture. Keep stirring until the mixture is uniformly smooth, thick, and beautifully blended. There should be no streaks of peanut butter visible.
- Immediately pour the warm fudge mixture into your prepared 8x8 pan. Use a spatula to spread it evenly into the corners of the pan. If you are adding any desired toppings, such as extra peanuts or chocolate chips, sprinkle them over the fudge surface right away before it begins to set. Once topped, place the pan in the refrigerator for at least 1 hour to allow the fudge to properly chill and firm up. This chilling time is essential for a perfectly set fudge.
- After the fudge has fully chilled and set, use the foil overhang to carefully lift the entire block of fudge out of the pan. Place it on a cutting board. For clean, neat squares, I like to use a sharp knife that has been warmed under hot water and then wiped dry between each cut. Cut the fudge into your desired square sizes and serve.
Notes

Emily Thompson is a home cook and food enthusiast who believes that great meals bring families together. She loves exploring creative twists on classic American comfort food, always testing new ideas in her kitchen. Emily is passionate about sharing simple, practical recipes and time-saving tips to help busy people enjoy cooking at home. Her approachable style makes every dish accessible, delicious, and perfect for those seeking inspiration for everyday meals and special occasions. Find Emily’s latest creations and kitchen wisdom on yumeasymeals.com.