
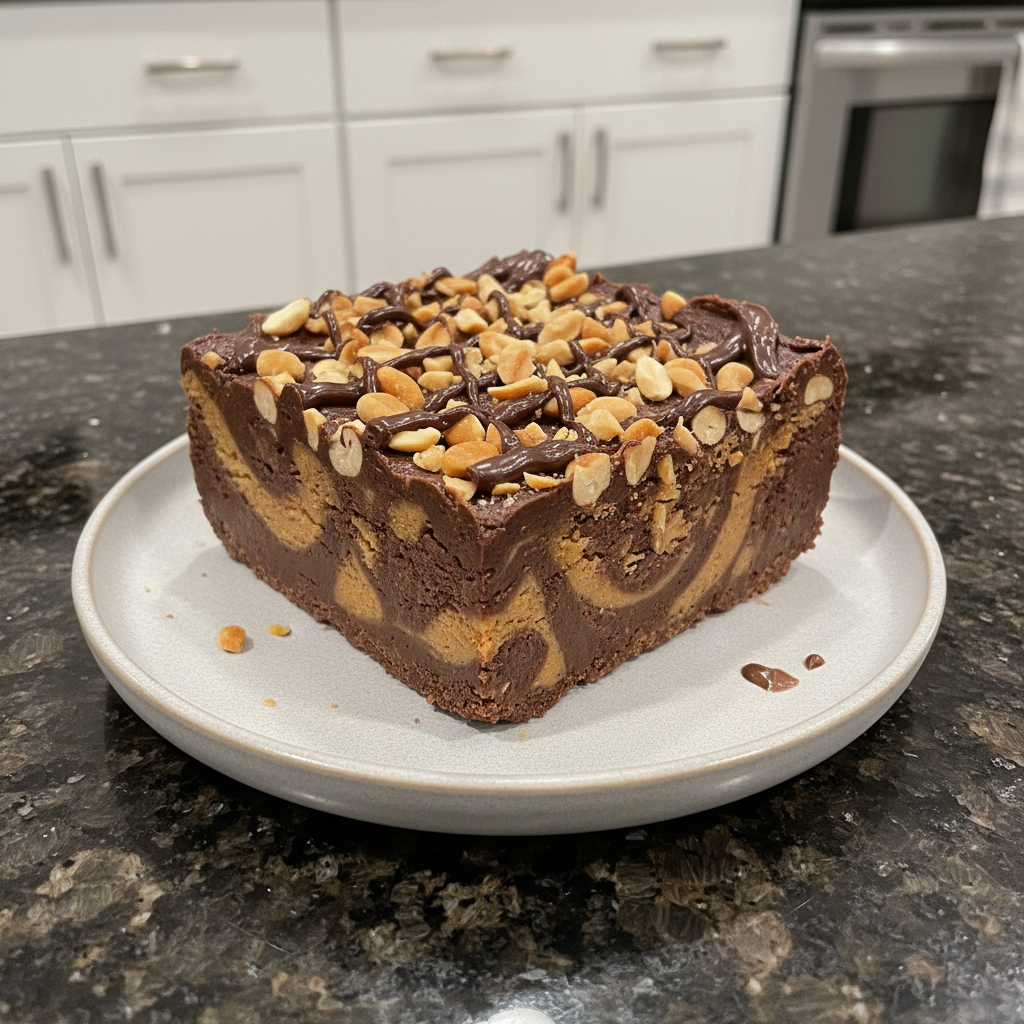
Ingredients
Equipment
Method
Prep Your Pan
- Begin by preparing your 8x8 pan. Line the entire pan with foil, making sure to leave an overhang on all sides. This foil overhang acts as a convenient handle, allowing you to easily lift the set fudge out of the pan later. This step is crucial for preventing sticking and making the cutting process much simpler and cleaner.
Melt the Chocolate & Milk
- In a large, microwave-safe bowl, combine the sweetened condensed milk and the semi-sweet chocolate chips. Place the bowl in the microwave and heat for 1 to 2 minutes. I recommend microwaving in 30-second bursts, stirring thoroughly after each interval, until the mixture is completely smooth and glossy. You want all the chocolate chips to be fully melted and integrated, creating a rich, flowing chocolate base. Be careful not to scorch the chocolate. If you prefer, you can also melt this mixture in a double boiler over simmering water on the stovetop, stirring constantly until smooth.
Incorporate Peanut Butter
- Once your chocolate and sweetened condensed milk mixture is smooth, add the peanut butter to the bowl. Stir continuously and thoroughly until the peanut butter is fully incorporated into the chocolate mixture. Keep stirring until the mixture is uniformly smooth, thick, and beautifully blended. There should be no streaks of peanut butter visible.
Top & Chill
- Immediately pour the warm fudge mixture into your prepared 8x8 pan. Use a spatula to spread it evenly into the corners of the pan. If you are adding any desired toppings, such as extra peanuts or chocolate chips, sprinkle them over the fudge surface right away before it begins to set. Once topped, place the pan in the refrigerator for at least 1 hour to allow the fudge to properly chill and firm up. This chilling time is essential for a perfectly set fudge.
Cut & Serve
- After the fudge has fully chilled and set, use the foil overhang to carefully lift the entire block of fudge out of the pan. Place it on a cutting board. For clean, neat squares, I like to use a sharp knife that has been warmed under hot water and then wiped dry between each cut. Cut the fudge into your desired square sizes and serve.
Notes
To achieve silky smooth fudge, ensure slow and gentle melting, avoiding overheating the chocolate. Precision in measurements is key for proper setting. Refrigerate for at least 1 hour, or longer if needed, for perfectly firm squares. High-quality ingredients make a noticeable difference. Nutrition information is estimated based on common ingredients and serving sizes and may vary.