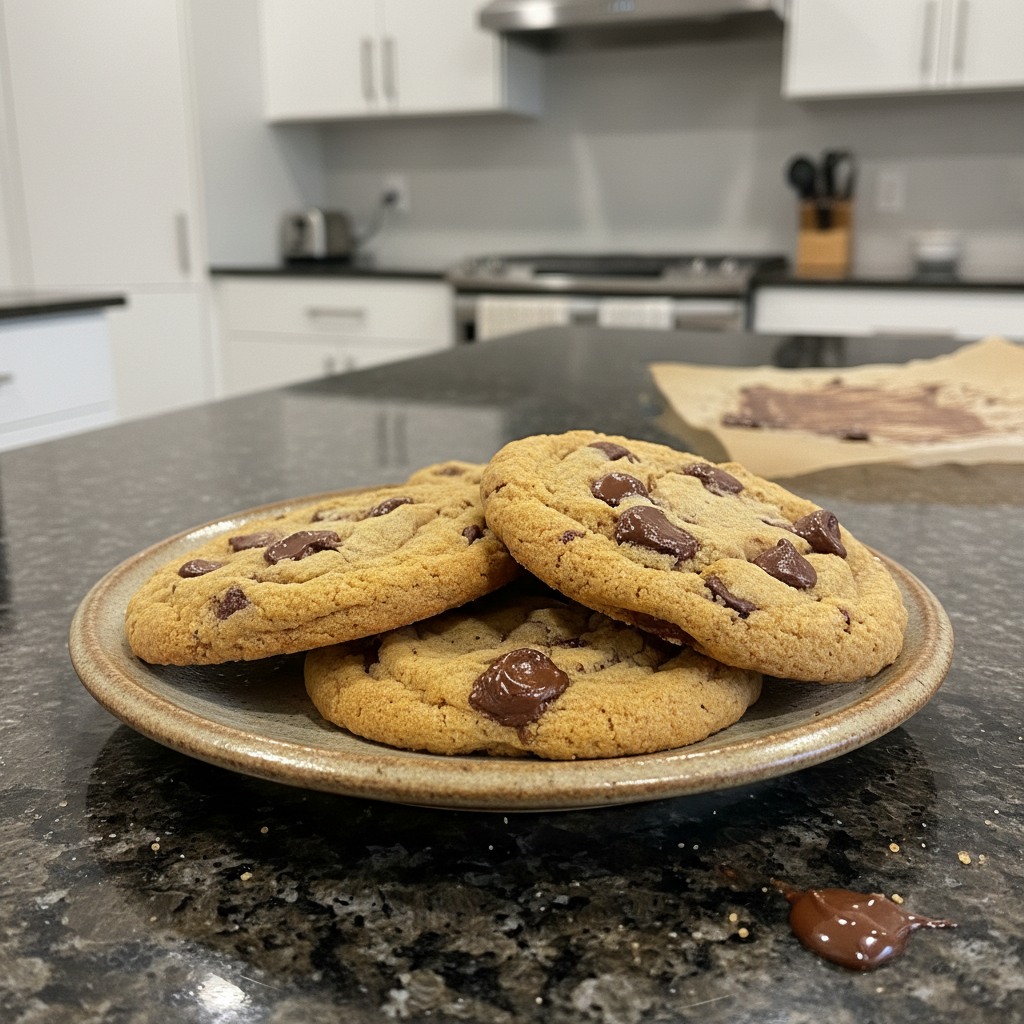
Easter is a time for bright colors, blooming flowers, and the joyous laughter of children. In my kitchen, nothing brings more smiles than creating delightful treats that are not only delicious but also incredibly simple to make. If you are searching for easy Easter dessert recipes for kids party, look no further. This recipe for adorable Rice Krispie nests is the perfect no-bake solution, promising fun for little hands and a special treat for everyone. Get ready to discover a delightful twist that elevates this classic cereal treat to a whole new level of flavor.
Why You’ll Love This Rice Krispie Nests Recipe
You will truly adore this recipe for its unique flavor twist. I use lightly salted butter and a subtle pinch of sea salt to perfectly balance the sweetness of the marshmallows and mini eggs. This simple addition creates a harmonious sweet and salty profile that is incredibly satisfying. It is quick, easy, and provides a wonderful opportunity for kids to get involved in the kitchen. These no-bake Easter nests are ideal for any kids party, classroom celebration, or a cozy family dessert. The convenience of a no-bake dessert means less stress and more fun for you.
Ingredients Needed

- 4 cups marshmallows
- 5 cups rice cereal
- 1/4 cup coconut oil*
- 2 teaspoons vanilla
- 2 cups mini eggs
- 1/2 cup chocolate chips, optional
Ingredient Notes & Substitutions
When selecting your ingredients, there are a few things to keep in mind.
For marshmallows, you can use mini marshmallows for quicker melting, or regular-sized ones, which will take slightly longer. Flavored marshmallows like strawberry or chocolate can also add an interesting twist. Remember that marshmallows melt down into a gooey, sticky base. For a vegan option, look for plant-based marshmallows, readily available in most grocery stores.
Regarding the rice cereal, while classic crispy rice cereal is traditional, you can experiment. Cocoa rice cereal will give you a chocolatey nest. For a gluten-free version, simply ensure your rice cereal is certified gluten-free.
The coconut oil adds a very subtle flavor and smooth texture to the treats. However, you can easily substitute it with butter. I strongly recommend using lightly salted butter for this recipe, as it enhances all the other flavors beautifully and contributes to our unique salty-sweet twist.
Vanilla extract is a classic flavor enhancer here. For a different taste experience, consider almond extract or a hint of lemon extract. Extracts deepen the overall flavor profile of your cereal treats.
The mini eggs are perfect for a festive Easter look. You can also use other delightful alternatives. Think jelly beans, colorful chocolate chips, festive sprinkles, or even fresh berries for a lighter touch. Different colors and brands of mini eggs offer variety in both appearance and chocolate flavor.
Remember, using lightly salted butter truly makes a difference in this recipe. It is my secret to a balanced and irresistible Easter treat.
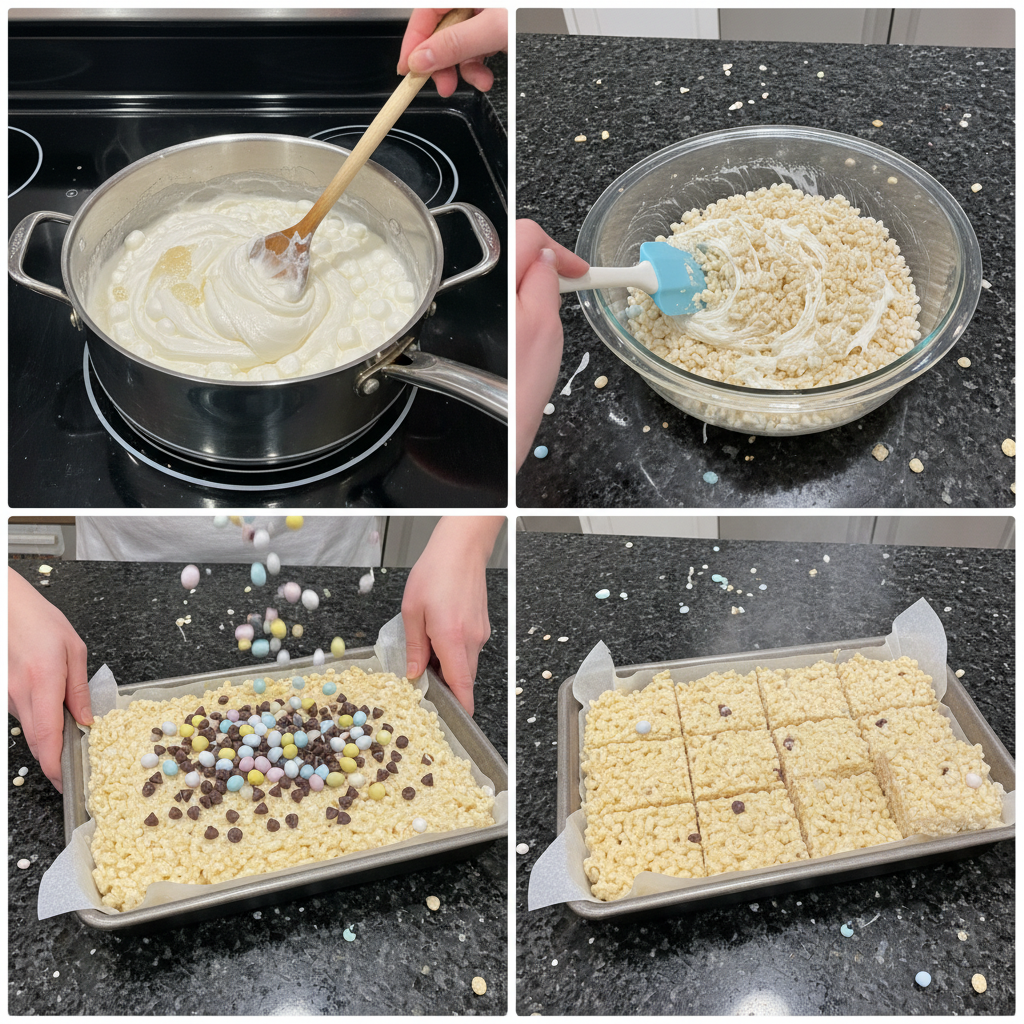
How to Make Easy Easter Dessert Recipes for Kids Party
Making these easy easter dessert recipes for kids party is a breeze. Follow these simple steps for perfectly adorable and delicious nests.
First, take a 12-cup muffin tray and lightly grease each cup. Set this tray aside; it will be ready when you need it.
Next, measure your marshmallows and place them into a large, microwave-safe bowl. Heat them in the microwave for approximately 25 to 30 seconds. The marshmallows should begin to soften and puff up. Give them a good stir with a spatula. If they are not completely melted and gooey, repeat heating in short bursts until they are smooth and fully melted.
Once the marshmallows are melted, add your melted butter or coconut oil and the vanilla extract to the bowl. Stir everything very well until these liquids are fully incorporated into the marshmallow mixture. The mixture will be sticky and wonderfully fragrant.
Now, it is time to add the rice cereal. Pour in one cup of cereal at a time, gently folding it into the marshmallow mixture. Continue this process until all of the cereal is evenly coated and fully incorporated into the sticky marshmallow base.
Take heaping 1/4 cup portions of your rice krispie treat mixture and scoop them into the prepared muffin tray cups. This will form the base of your nests.
To shape them, slightly wet your hands with water or lightly coat them with butter or coconut oil to prevent sticking. A little pinch of salt on your hands can also help prevent sticking and add to the flavor. Then, gently press the rice krispies into a cup or tart-like shape within each muffin cup, creating an indentation for the “eggs.”
Place the entire muffin tray into the fridge. Let the nests set and harden for at least 2 hours, or even overnight, for the best results. This refrigeration ensures they hold their shape perfectly.
Once the nests have set and are firm, use a butter knife to carefully pop them out of the muffin tray. Now comes the fun part: filling them with treats! We love mini eggs for that classic Easter look, but jellybeans or some fresh berries would also be a delicious choice.
For an extra touch, you have an optional step. You can simply place the mini eggs into the nests. Or, for nests that hold their candy securely, melt about a half Tablespoon of chocolate chips. Drizzle this melted chocolate into each nest, then add your mini eggs. As the chocolate sets and hardens, it will secure the eggs in place. The slightly toasted flavor from the Maillard reaction in the butter, combined with the salty-sweetness, makes these cereal treats incredibly special.
How to Prevent Hard Rice Krispie Treats
Nobody likes a rock-hard cereal treat! Ensuring your Easter nests remain soft and chewy is easy if you follow a few guidelines.
First, be careful with proper marshmallow melting. Overheating marshmallows is the most common culprit for hard treats. Heat them just until they are melted and smooth, but do not let them get too hot or cook for too long.
For storage, always use an airtight container. Exposure to air is what causes these treats to dry out and harden. Store them at room temperature, never in the refrigerator after they have set, as the cold can change their texture.
Maintaining the correct ingredients ratio is crucial. Stick to the specified amounts of marshmallows to rice cereal. Too much cereal can make them dry, while too few marshmallows will not bind them well.
Finally, always use fresh marshmallows and fresh rice cereal. Stale ingredients can lead to a less desirable texture from the start.
Pro Tips & Troubleshooting
Pro Tips
To make your Easter Rice Krispie nests truly stand out, I have a few expert tips for you.
Always use lightly salted butter and a pinch of sea salt in the marshmallow mixture. This is our unique twist and it genuinely enhances the flavor, creating a delightful sweet and salty balance.
Before pressing the treats into the muffin tin, wet your hands with a little water or coat them with butter or coconut oil. This prevents the sticky mixture from adhering to your hands.
For super easy removal, you can line your muffin tin with parchment paper cups before adding the mixture.
If you are using the optional chocolate chips to secure your mini eggs, melt them in a microwave-safe bowl in 15-second intervals, stirring after each, to prevent burning.
Ensure the marshmallow mixture is thoroughly combined with the butter or oil and vanilla before you add the cereal. This guarantees an even flavor throughout.
Let the nests set for at least 2 hours in the fridge for the best, firm results that hold their shape.
Store your finished cereal treat nests in an airtight container at room temperature to keep them soft and fresh.
Common Mistakes to Avoid
To ensure your success, here are some common mistakes I have seen home cooks make.
Do not overheat the marshmallows; this is the primary reason why cereal treats become hard and difficult to chew.
Be mindful of the amount of coconut oil you use; too much can overpower the delicate marshmallow flavor.
Make sure you press the treats firmly enough into the muffin tin to form a solid nest shape that will hold up.
Improper storage, such as leaving them uncovered or refrigerating them for too long, will lead to hardening.
Always use fresh cereal. Stale cereal will not give you the light, crispy texture you are aiming for.
Serving & Storage
Serving Ideas
These adorable Rice Krispie nests are as versatile as they are delicious.
They make a wonderful Easter centerpiece on your holiday table, brimming with colorful treats.
They are fantastic for classroom contributions or school parties, always a hit with kids and teachers alike.
Arrange them on a beautiful platter with other Easter candies and spring-themed desserts for an impressive spread. Consider adding festive options like Cadbury egg cookie cups for even more variety.
Serve them individually with a refreshing glass of cold milk or juice for a perfect snack or light dessert.
Storage and Make-Ahead
Proper storage ensures your cereal treats stay fresh and delightful.
Store the Easter nests in an airtight container at room temperature for up to a week. This keeps them soft and prevents them from drying out.
You can easily make these treats 1 to 2 days ahead of your Easter celebration, making party prep stress-free.
I do not recommend freezing these nests, as it can significantly affect their texture, making them crumbly and less appealing.
Conclusion
I truly hope you enjoy making these delightful, easy easter dessert recipes for kids party. These no-bake Rice Krispie nests are not only simple and fun to create with children, but their unique salty-sweet flavor profile also makes them utterly irresistible. Even if you are a beginner in the kitchen, you will find this recipe straightforward and rewarding. Feel free to get creative with different candies, cereals, or extracts to make them your own. I encourage you to share your creations with me, and perhaps explore more of my easy Easter recipes for your next holiday gathering.
FAQ
How do I prevent the treats from becoming too hard?
To keep your treats soft, avoid overheating the marshmallows during melting. Store them in an airtight container at room temperature once they have set. Using the correct ratio of marshmallows to cereal and fresh ingredients also helps.
Can I make these ahead of time?
Yes, absolutely! You can prepare these Easter nests 1 to 2 days in advance. Just store them in an airtight container at room temperature.
What other candies can I use besides mini eggs?
You have many options! Consider using jellybeans, small chocolate candies, sprinkles, or even fresh berries like raspberries or blueberries for a different look and taste.
How do I store these Easter nests?
Store your Easter nests in an airtight container at room temperature. This will help maintain their soft and chewy texture for up to a week.
Can I make these dairy-free or vegan?
Yes, you can! Use vegan marshmallows and coconut oil instead of butter. If you are adding chocolate chips, ensure they are also dairy-free to keep the entire recipe vegan.
What can I do if the marshmallow mixture is too sticky?
If the marshmallow mixture is too sticky when you are forming the nests, lightly wet your hands with water or coat them with a little butter or coconut oil before pressing the mixture into the muffin tray.
Can I use different types of cereal?
While crispy rice cereal works best for its classic texture, you can experiment. Cocoa rice cereal is a popular choice for a chocolatey twist. Just be aware that other cereals might change the final texture.
What size muffin liners work best?
Standard muffin liners work best for creating individual nests that are the perfect size for serving.

Adorable Rice Krispie Nests
Ingredients
Equipment
Method
- Take a 12-cup muffin tray and lightly grease each cup, then set aside.
- Measure marshmallows and place them into a large, microwave-safe bowl. Heat in the microwave for approximately 25 to 30 seconds until softened and puffed. Stir well; if not completely melted, repeat heating in short bursts until smooth.
- Once marshmallows are melted, add your melted butter or coconut oil and vanilla extract to the bowl. Stir everything very well until fully incorporated into the marshmallow mixture.
- Add rice cereal, one cup at a time, gently folding it into the marshmallow mixture until all cereal is evenly coated and fully incorporated.
- Scoop heaping 1/4 cup portions of the rice krispie treat mixture into the prepared muffin tray cups to form the base of your nests.
- To shape them, slightly wet your hands with water or lightly coat with butter/coconut oil (a little pinch of salt on hands also helps). Gently press the rice krispies into a cup or tart-like shape within each muffin cup, creating an indentation for the "eggs."
- Place the entire muffin tray into the fridge and let the nests set and harden for at least 2 hours, or even overnight, for best results.
- Once set and firm, use a butter knife to carefully pop them out of the muffin tray. Fill them with mini eggs, jellybeans, or fresh berries.
- Optional: For nests that hold candy securely, melt about a half Tablespoon of chocolate chips. Drizzle this melted chocolate into each nest, then add your mini eggs. Allow chocolate to set and harden to secure the eggs.
Notes

Sophie Reynolds is a baking specialist and dessert contributor at YumEasyMeals. She develops approachable, family-friendly dessert recipes focused on flavor, simplicity, and reliable results for everyday home cooks.