
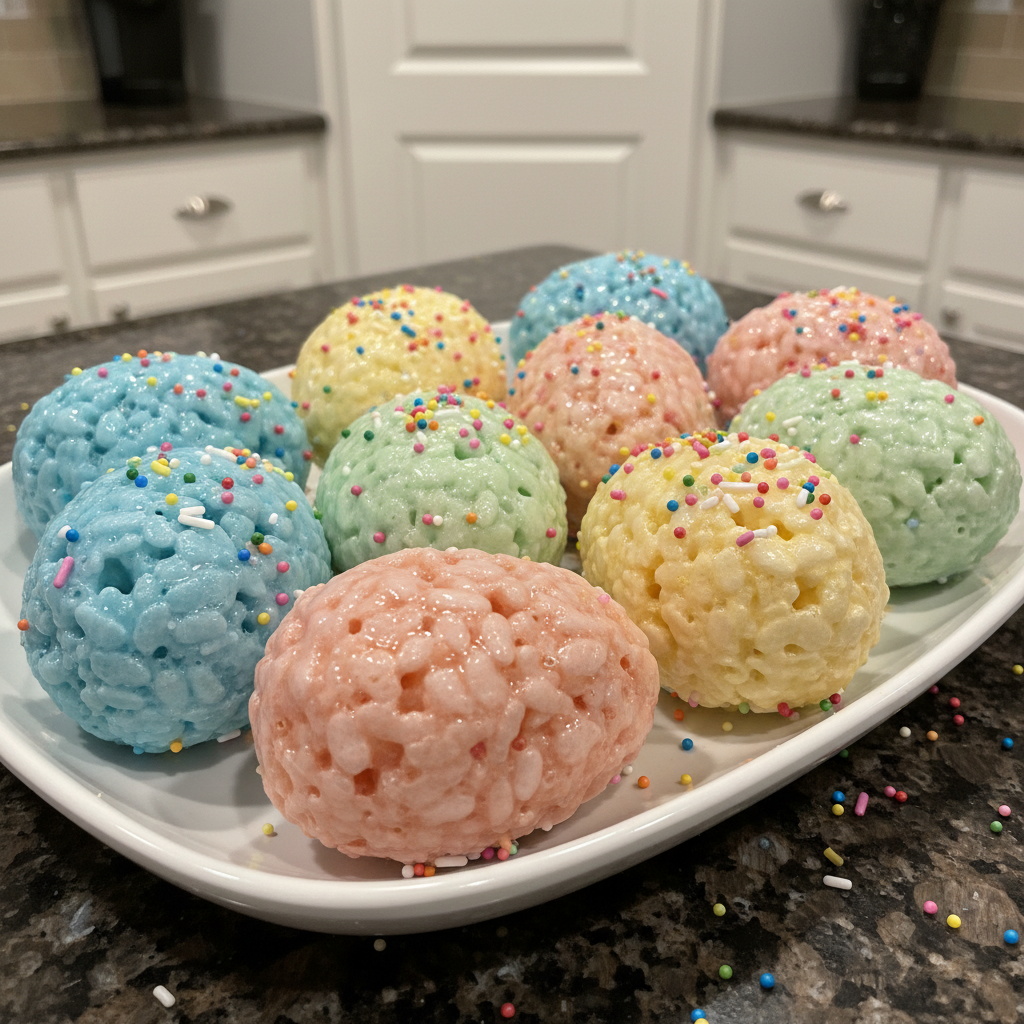
Ingredients
Equipment
Method
Prepare the Marshmallow Mixture (for one batch, repeat 5 times)
- In a medium pan over low heat, melt 3 tablespoons of butter, being careful to prevent burning.
- Add 3 cups of mini marshmallows to the pan. Stir constantly until the marshmallows are completely melted and form a smooth, gooey mixture.
- Remove the pan from the heat. Then, add your desired gel food coloring a few drops at a time until you reach the desired vibrant color. Mix thoroughly to ensure even distribution.
Combine with Cereal (for one batch)
- Now, add 3 cups of Rice Krispie cereal to the colored marshmallow mixture. Gently fold in the cereal to avoid crushing it, ensuring every piece is coated beautifully.
- Allow the Rice Krispie mixture to cool slightly. This step makes the mixture easier to handle without burning your hands.
Mold the Easter Eggs (for one batch)
- Lightly butter your hands or wear food-safe gloves to prevent sticking. Lightly grease the inside of your plastic Easter egg molds with butter or cooking spray.
- Pack the slightly cooled Rice Krispie Treat mixture TIGHTLY into your plastic Easter egg molds, ensuring every crevice is filled. You might need to slightly overfill the mold, then use a spoon or your finger to scrape off the excess, creating a flat surface on one side.
- Carefully and gently open the mold to release the perfectly shaped Rice Krispie Easter egg. Allow the molded Rice Krispie bites to cool completely on a parchment-lined baking sheet until firm.
- Repeat this entire process (from 'Prepare the Marshmallow Mixture' to 'Mold the Easter Eggs') for the other four Easter Egg colors, creating a stunning array of pastel treats (Yellow, Green, Blue, Purple, Pink).
Decorating Your Rice Krispies Easter Eggs
Melting the Chocolate
- Melt good quality melting wafers or chocolate chips combined with a tiny bit of coconut oil. You can melt the chocolate in the microwave in short 20-30 second intervals, stirring well after each, or use a double boiler on the stovetop. Be careful not to overheat the chocolate.
Applying the Chocolate
- For a full coating, gently dip one half of the Rice Krispie Easter egg into the melted chocolate, letting any excess drip off before placing it on parchment paper. For an artistic look, use a spoon or a piping bag with a small hole cut in the tip to drizzle patterns over the eggs.
Sprinkles and Other Decorations
- While the chocolate is still wet, add sprinkles (jimmies, nonpareils, sanding sugar), edible glitter, or attach small candies with a dab of melted chocolate. Get creative with different designs and textures!
Setting the Chocolate
- Once your Rice Krispie Easter eggs are decorated, place them on a parchment-lined baking sheet. To speed up the process, refrigerate them for about 10-15 minutes until the chocolate is firm.
Notes
Undecorated Rice Krispie Easter eggs can be stored in an airtight container at room temperature for up to 3 days. Decorated eggs should be stored in an airtight container in the refrigerator for up to 1 week. Freezing is generally not recommended as it can significantly affect their texture, making them too hard or crumbly. Nutrition information is estimated based on common ingredients and serving sizes and may vary.