
Ingredients
Equipment
Method
Preparing the Crust
- Preheat your oven to 350 degrees Fahrenheit (175°C). Prepare your mini muffin pan by greasing and flouring it thoroughly, or use a nonstick cooking spray.
- Unroll your pie crusts onto a silicon mat. Using a 4-inch flower-shaped cookie cutter (from petal tip to petal tip), cut out as many flower shapes as possible. Gently ball up dough scraps and roll them out again to cut more, aiming for 24 flower-shaped dough pieces from two crusts.
- Place these dough pieces into the mini muffin tins, leaving an empty space between crusts if possible for even baking. Press them gently into the bottom and up the sides of each cup.
- Prick the bottoms of the crusts with a fork to allow steam to escape during baking.
- Brush the top edges of each crust with an egg wash made from one egg.
- Bake the crusts for 15-20 minutes, or until the edges are golden brown. Watch them closely to prevent overbaking. Once baked, remove them from the oven and let them cool completely in the pan.
- Once cooled, use the tip of a knife to carefully loosen the crusts from the mini muffin cups.
Making the Lemon Filling
- Whisk the four egg yolks in a medium-sized mixing bowl and set them aside.
- In a medium saucepan, combine the cornstarch, water, sugar, and salt. Stir this mixture constantly over medium-low heat until it comes to a boil. Allow it to boil for 1 minute, then remove it from the heat.
- Reduce the heat on your stove to low. Slowly pour half of this hot mixture into your whisked egg yolks in a thin stream, whisking the egg yolks constantly to temper them and prevent scrambling.
- Then, pour the warmed egg mixture back into the saucepan, continuing to whisk constantly.
- Return the saucepan to the stove and cook for an additional 3 minutes, stirring constantly. This continuous whisking is key to preventing lumps and ensuring a smooth, thick, and glossy filling.
- Remove the pan from the heat and stir in the fresh lemon juice and finely grated lemon zest.
- Finally, whisk in the butter one tablespoon at a time, until each piece is fully incorporated and the filling is smooth and rich.
Assembling and Finishing
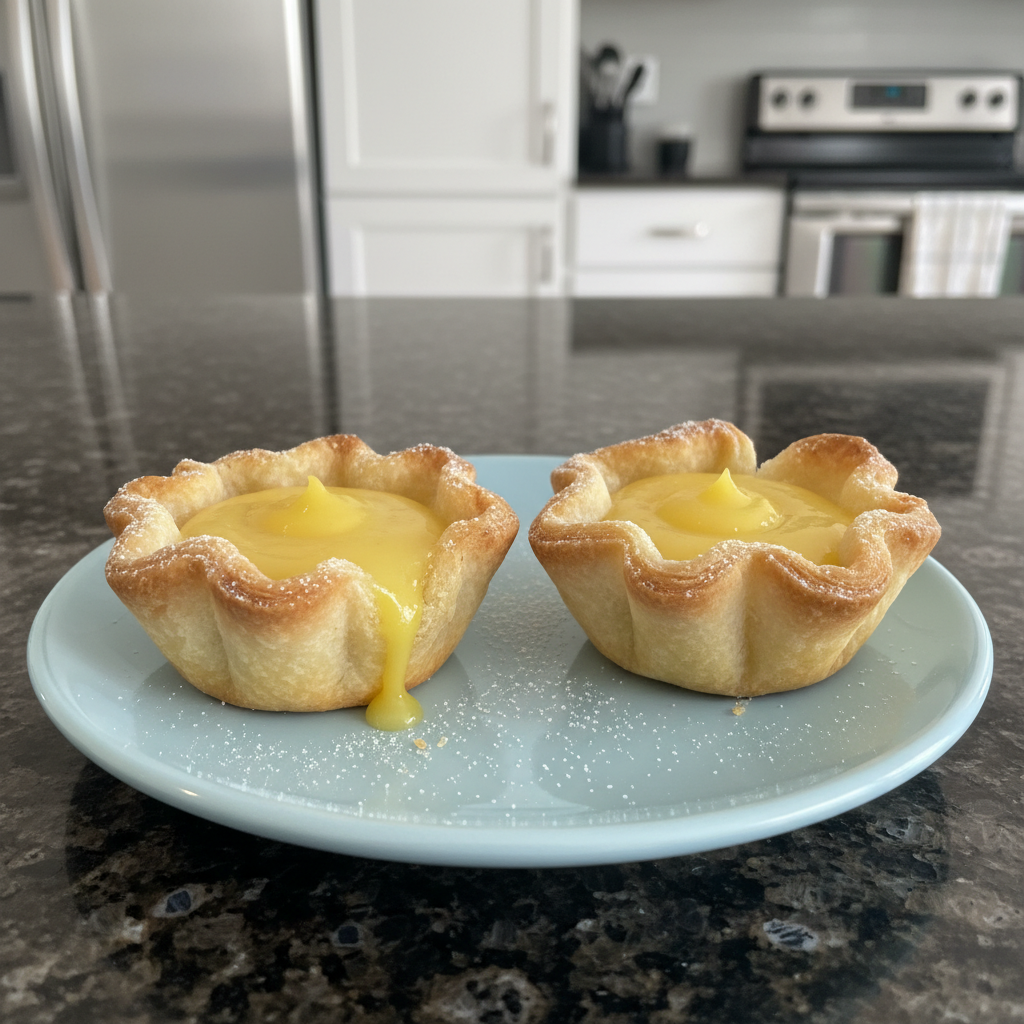
- Spoon the warm lemon filling mixture into each baked and cooled mini tart crust, filling them almost up to the top but being careful not to overfill. The filling will set as it cools.
- For the best presentation, dust the tops of the tarts with powdered sugar just before serving. The moist lemon filling in the center will absorb the sugar after a few minutes, leaving a beautiful powdered sugar outline only on the petals.
Notes
For convenience, use pre-made pie crusts, or make homemade for a flakier texture. For the best flavor, always use fresh lemon juice. Ensure your dough is well-chilled before rolling and cutting to prevent shrinkage, and prick the crust bottoms with a fork. Bake crusts until golden, watching carefully to avoid overbaking. When making the filling, whisk constantly for a smooth, lump-free result. Cool the filling slightly before spooning into the tart shells. Dust with powdered sugar just before serving for the best presentation. For an extra rich lemon flavor, a thin layer of homemade lemon curd can be spread in the tart shells before adding the main filling. These tarts store well in an airtight container in the refrigerator for up to 3 days, and can be frozen for up to 2 months. They are perfect for making ahead. Nutrition information is estimated based on common ingredients and serving sizes and may vary.