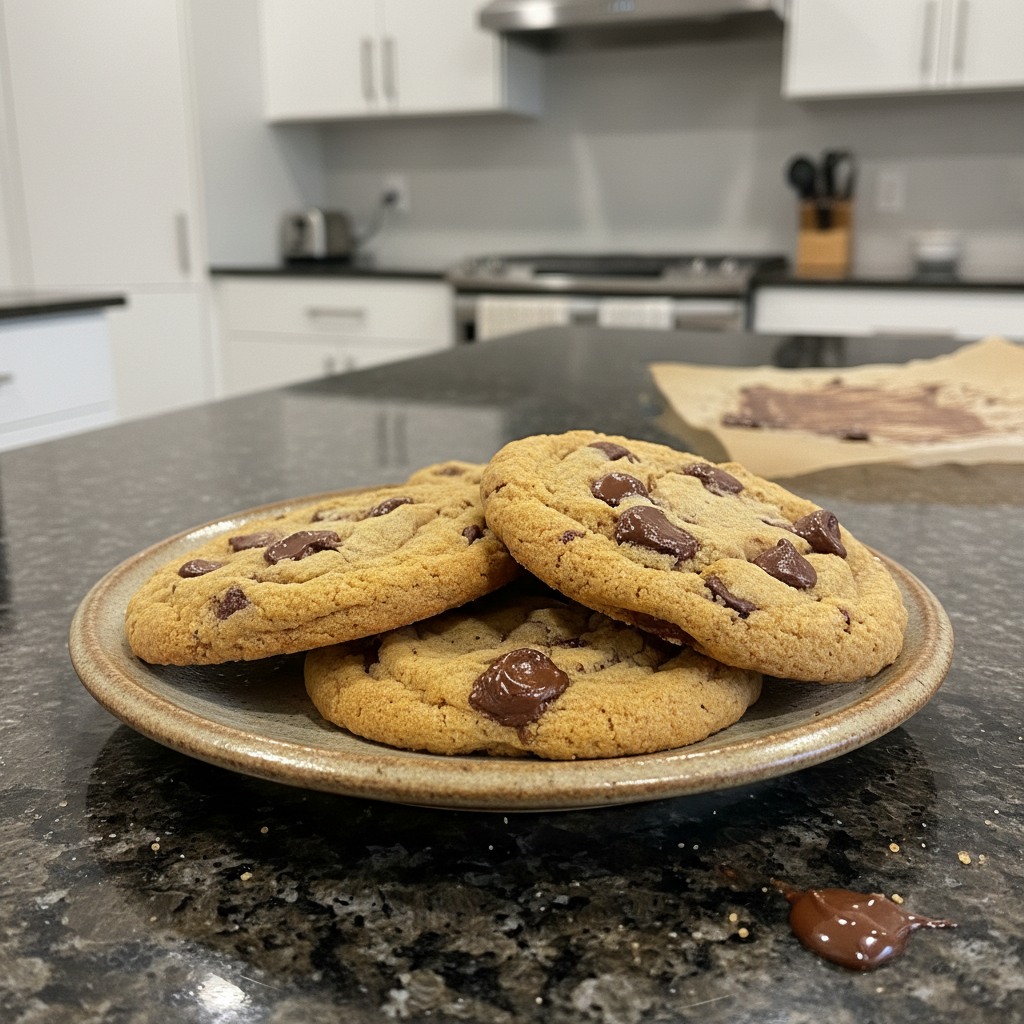
These adorable Bunny Oreo Balls are the perfect no-bake dessert for Easter! They are incredibly easy to make, require just a few ingredients, and are always a crowd-pleaser. As a professional chef, I know how important it is to have simple yet impressive recipes for holiday gatherings. Get ready to hop into my kitchen and create these delightful treats with me. This bunny oreo balls no bake recipe will be a new family favorite.
Why You’ll Love This Recipe
The Secret Ingredient: I add a pinch of sea salt to the Oreo cream cheese mixture. This enhances the sweetness and balances the flavors, creating a more sophisticated and delicious treat that stands out from typical no-bake desserts.
Tastebud Magic: The salt suppresses bitterness, allowing the sweet notes of the Oreo cookies and white chocolate to truly shine. Understanding the role of salt in baking can elevate your desserts to a new level. This results in a perfectly balanced bite that is not overly sweet, making these cookie balls incredibly addictive.
No-Bake Bliss: No oven required! These no-bake Oreo balls are quick and easy to make, perfect for busy families and last-minute Easter preparations. This means less stress and more fun.
Kid-Friendly Fun: Get the kids involved in decorating the bunny faces. It is a fun and creative activity that everyone will enjoy, turning dessert making into a cherished Easter memory.
Perfect for Easter: These charming bunny-shaped treats are the perfect addition to your Easter brunch or dessert table. They are a festive and delightful way to celebrate the holiday.
Ingredients Needed
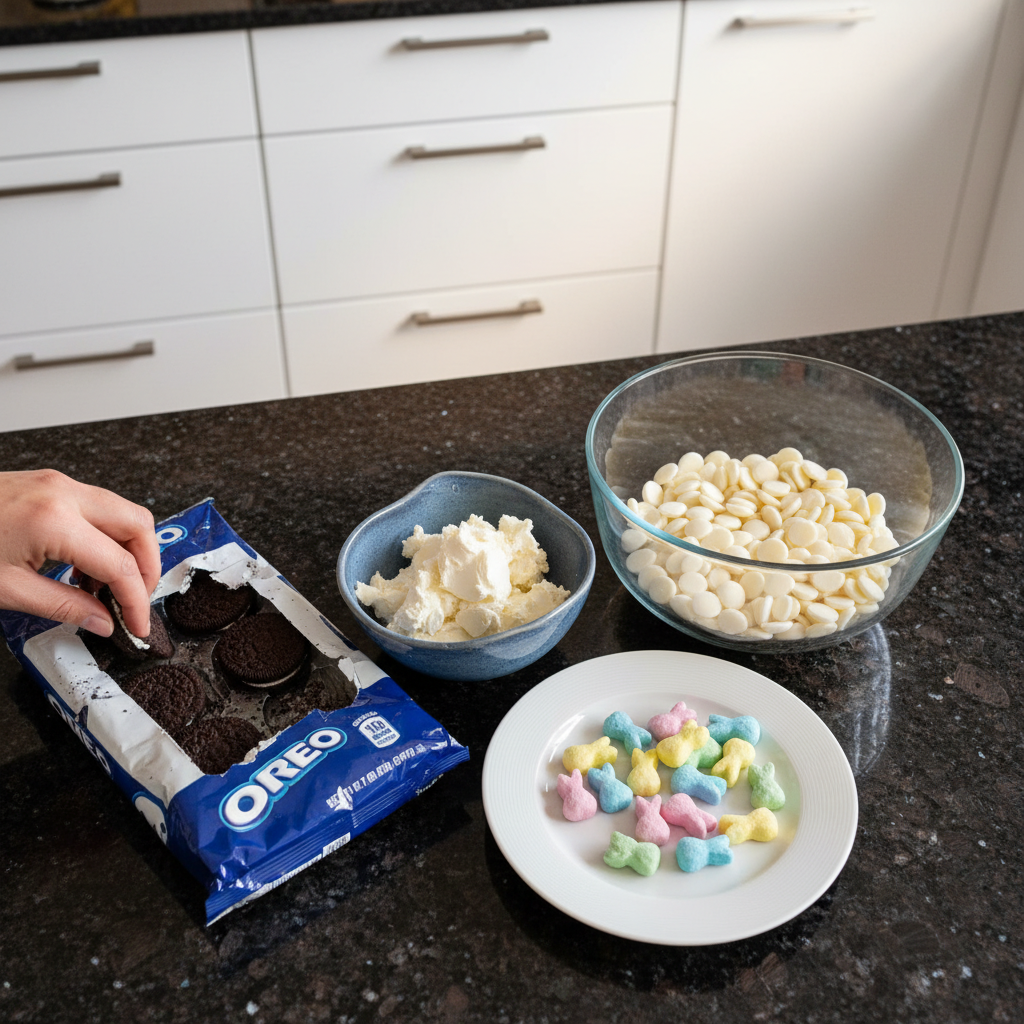
36 Oreo Cookies
8 oz cream cheese (softened)
16 oz white chocolate melting wafers
Candy Bunny Decorations
Ingredient Notes & Substitutions
Oreo Cookies: You can use regular Oreo cookies or experiment with seasonal flavors like golden Oreos or mint Oreos. I recommend avoiding double-stuffed Oreos, as they can make the mixture too soft to handle.
Cream Cheese: Use full-fat cream cheese for the best flavor and texture in your dessert truffles. Ensure it is softened to room temperature for easy mixing. For a dairy-free option, try using a vegan cream cheese alternative, but be aware that the texture might be slightly different.
White Chocolate: White chocolate melting wafers are recommended for their ease of use and smooth melting properties. Alternatively, you can use white chocolate chips or a white chocolate bar, but be careful not to overheat the chocolate. Other delicious options include milk chocolate or dark chocolate for coating.
Candy Bunny Decorations: If you cannot find candy bunny decorations, you can easily use royal icing to pipe bunny feet or tails. You can also use sprinkles, edible glitter, or miniature marshmallows for a festive touch.
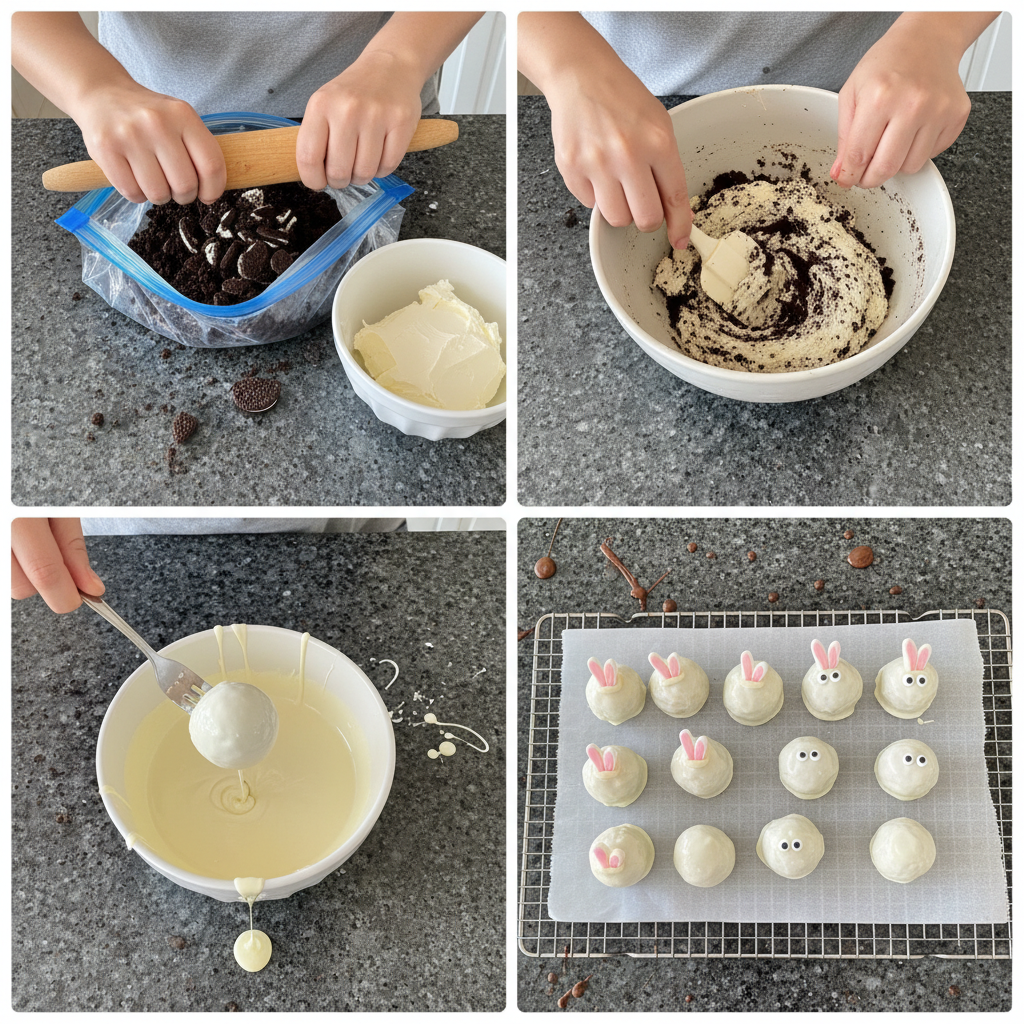
How to Make Bunny Oreo Balls
Crush the Oreos
Place the Oreo cookies in a food processor and pulse them into fine crumbs. The crumbs should be evenly sized for a smooth texture in your cookie balls. If you do not have a food processor, place the cookies in a sealed bag and crush them with a rolling pin.
Combine with Cream Cheese
Combine the cookie crumbs and softened cream cheese until fully mixed. Ensure the cream cheese is fully incorporated for a smooth and creamy mixture. Remember to add a pinch of sea salt to enhance the sweetness of your Oreo mixture.
Chill the Dough
Refrigerate the mixture for 10 minutes. This helps the mixture firm up and makes it much easier to roll into uniform balls.
Shape into Balls
Scoop the mixture into 1-inch balls and place them on a parchment-covered baking sheet. The balls should be uniform in size for even coating and a professional appearance.
Chill Again
Refrigerate the shaped balls for 20-30 minutes or until they hold their shape firmly. This step is crucial to prevent the balls from melting when they are dipped in the warm chocolate.
Melt the Chocolate
Melt the white chocolate according to package directions. Be careful not to overheat the chocolate, as it can seize. Stir frequently and melt in short intervals in the microwave or over a double boiler.
Dip and Decorate
Dip the Oreo balls into the melted chocolate and shake off any excess. Place them on a lined baking sheet and decorate one at a time with candy bunny decorations. Work quickly, as the chocolate will start to set.
Final Chill
Refrigerate the decorated bunny oreo balls until they are ready to serve. This allows the chocolate to harden completely and ensures a beautiful finish.
Melting White Chocolate Perfectly
Melting chocolate, especially white chocolate, can be tricky if not done correctly. My goal is always a smooth, glossy finish without any seizing or burning. Understanding how to manage the heat is key to success when working with white chocolate.
Using a Microwave
When using a microwave for melting chocolate, always go low and slow. Place your white chocolate melting wafers in a microwave-safe bowl. Microwave them on 50 percent power for 30-second intervals, stirring thoroughly after each interval. It is important to stir even if the chocolate does not look melted, as the residual heat continues the melting process. Continue this process until the white chocolate is mostly melted and smooth. Stop microwaving when there are still a few small lumps, and just keep stirring until those melt into the chocolate. This prevents overheating.
Using a Double Boiler
A double boiler is another excellent method for melting chocolate gently. Place a heatproof bowl over a saucepan of simmering water, ensuring the bottom of the bowl does not touch the water. Add your white chocolate to the bowl. The steam from the simmering water will gently melt the chocolate. Stir the chocolate frequently with a rubber spatula until it is smooth and fluid. This method offers more control over the heat and reduces the risk of burning or seizing the melting chocolate.
What to do if Chocolate Seizes
If your white chocolate does seize, which means it turns thick, lumpy, and unworkable, it is usually due to even a tiny amount of moisture getting into the chocolate or overheating. Do not despair! You can often rescue it. Try stirring in a very small amount of vegetable oil or shortening, about a teaspoon at a time. Continue stirring vigorously until the chocolate smooths out again. This helps to loosen the chocolate and return it to a dippable consistency.
Decorating Like a Pro: Bunny Feet and More!
Decorating these cookie balls is where the fun truly begins, especially when you are aiming for that adorable bunny theme. My favorite way to add charming details is with royal icing, which allows for precise and durable decorations.
Royal Icing Consistency: Piping vs Flooding
Royal icing is incredibly versatile. For piping detailed elements like bunny feet or tails, you need a stiff consistency. It should hold its shape when piped, similar to toothpaste. For flooding, which means filling in areas with a smooth layer, you will want a thinner consistency, like honey or shampoo. Achieve this by gradually adding small amounts of water to your stiff royal icing until it flows smoothly but still holds a soft peak before melting back into itself.
How to Pipe Bunny Feet and Tails
To pipe bunny feet, use a small round piping tip. Pipe two small, connected circles for the main pad of the foot, and then add three tiny dots above them for the toes. You can use pink food coloring for the inner parts of the feet for an extra cute touch. For bunny tails, simply pipe a small, round dot of stiff white royal icing onto the back of your cookie ball. You can then gently tap it with a dry finger to give it a slightly fluffy appearance. Let your royal icing decorations dry completely before handling, which can take several hours depending on humidity.
Alternative Decorations if No Candy Decorations Available
If you cannot find specific candy bunny decorations, or simply want to try something different, there are many creative alternatives. You can use colorful sprinkles to add a festive touch. Miniature marshmallows can be cut in half and pressed onto the chocolate to resemble fluffy tails. Edible glitter can be sprinkled on top for a shimmering effect. You can also use small candies or even chocolate chips to create eyes and noses for a whimsical bunny face. The possibilities are endless, so feel free to get creative!
Pro Tips & Troubleshooting
Pro Tips
Use a small cookie scoop to ensure a uniform size for all your Oreo balls. This helps them cook and chill evenly.
Chill the Oreo mixture and the formed balls thoroughly before dipping them to prevent melting and ensure the coating adheres smoothly.
Melt the white chocolate in short intervals, stirring frequently, to avoid overheating and seizing. Patience is key with melting chocolate.
Add a tiny pinch of sea salt to the Oreo cream cheese mixture to enhance the sweetness and balance the flavors beautifully.
Tap off excess chocolate after dipping to create a smooth and even coating on your dessert truffles.
Use a toothpick to smooth out any imperfections in the chocolate coating while it is still wet.
Work quickly when decorating, as the chocolate sets fast, especially if the balls are very cold.
Common Mistakes to Avoid
Overheating the white chocolate, which can cause it to seize and become unusable. Always melt slowly and gently.
Using double-stuffed Oreos, which can result in a mixture that is too soft and difficult to roll into balls.
Not chilling the mixture or the balls sufficiently before dipping, leading to melting and a messy outcome.
Using cream cheese that is not fully softened. This will result in a lumpy mixture that is hard to work with.
Applying too much pressure when dipping, causing the balls to crumble apart in the chocolate.
Decorating before the chocolate sets, which can cause the candy bunny decorations to slide off or smudge.
Serving & Storage
Serving Ideas
Serve the Bunny Oreo Balls chilled on a platter of green coconut shreds to resemble grass, perfect for an Easter brunch.
Arrang
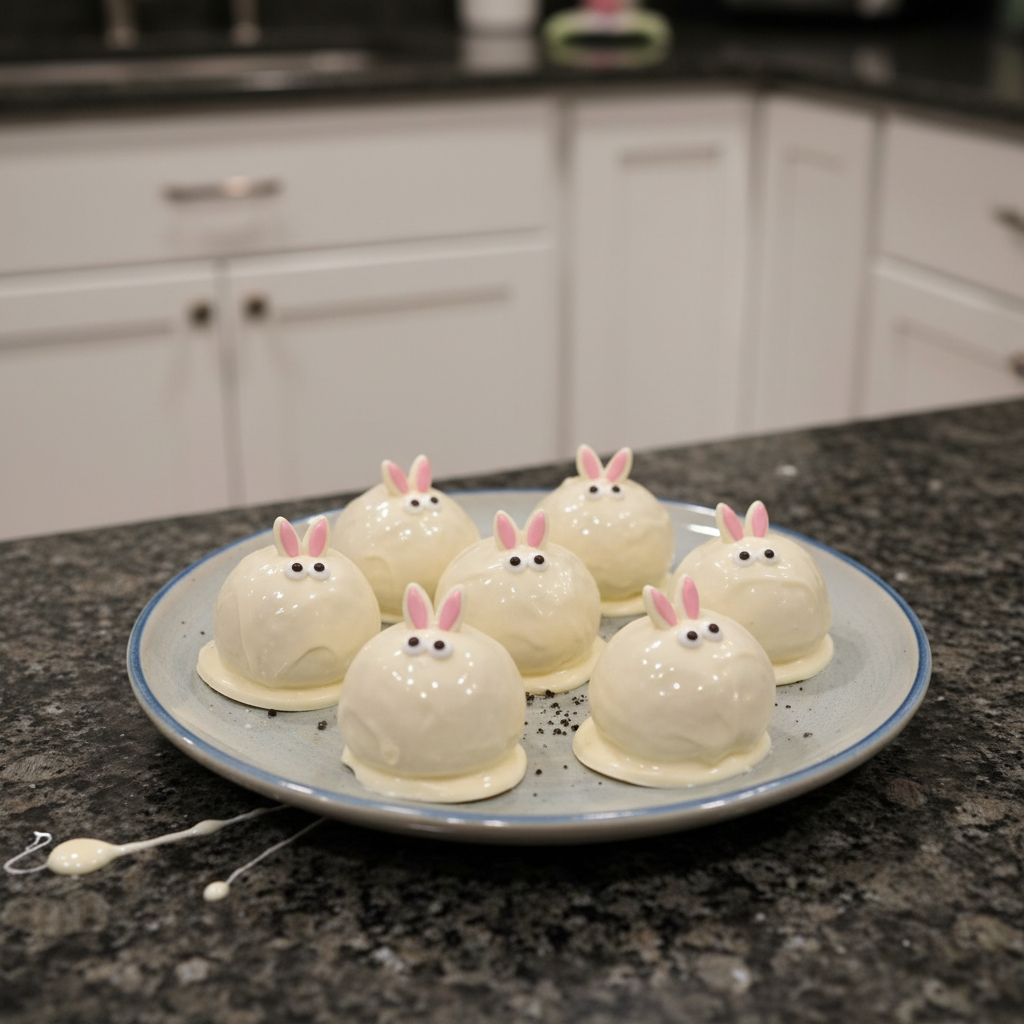
Bunny Oreo Balls: The Easiest No-Bake Easter Treat
Ingredients
Equipment
Method
- Place the Oreo cookies in a food processor and pulse them into fine crumbs. The crumbs should be evenly sized for a smooth texture in your cookie balls. If you do not have a food processor, place the cookies in a sealed bag and crush them with a rolling pin.
- Combine the cookie crumbs and softened cream cheese until fully mixed. Ensure the cream cheese is fully incorporated for a smooth and creamy mixture. Remember to add a pinch of sea salt to enhance the sweetness of your Oreo mixture.
- Refrigerate the mixture for 10 minutes. This helps the mixture firm up and makes it much easier to roll into uniform balls.
- Scoop the mixture into 1-inch balls and place them on a parchment-covered baking sheet. The balls should be uniform in size for even coating and a professional appearance.
- Refrigerate the shaped balls for 20-30 minutes or until they hold their shape firmly. This step is crucial to prevent the balls from melting when they are dipped in the warm chocolate.
- Melt the white chocolate according to package directions. Be careful not to overheat the chocolate, as it can seize. Stir frequently and melt in short intervals in the microwave or over a double boiler.
- Dip the Oreo balls into the melted chocolate and shake off any excess. Place them on a lined baking sheet and decorate one at a time with candy bunny decorations. Work quickly, as the chocolate will start to set.
- Refrigerate the decorated bunny oreo balls until they are ready to serve. This allows the chocolate to harden completely and ensures a beautiful finish.
Notes

Sophie Reynolds is a baking specialist and dessert contributor at YumEasyMeals. She develops approachable, family-friendly dessert recipes focused on flavor, simplicity, and reliable results for everyday home cooks.